How to Build a Hidden Litter Box Cabinet That Doesn’t Smell
Litter boxes are a problem no matter where you put them. Leave one out in the open and it’s an eyesore. Hide it in a cabinet and, more often than not, it starts to smell worse — not better. That’s because most DIY litter box cabinets solve the “ugly” problem while accidentally creating an airflow problem.
Good news: you can fix both. Here’s how to build a hidden litter box cabinet that actually looks like furniture and doesn’t turn your hallway into a cat bathroom smell trap.
As an Amazon Associate I earn from qualifying purchases.
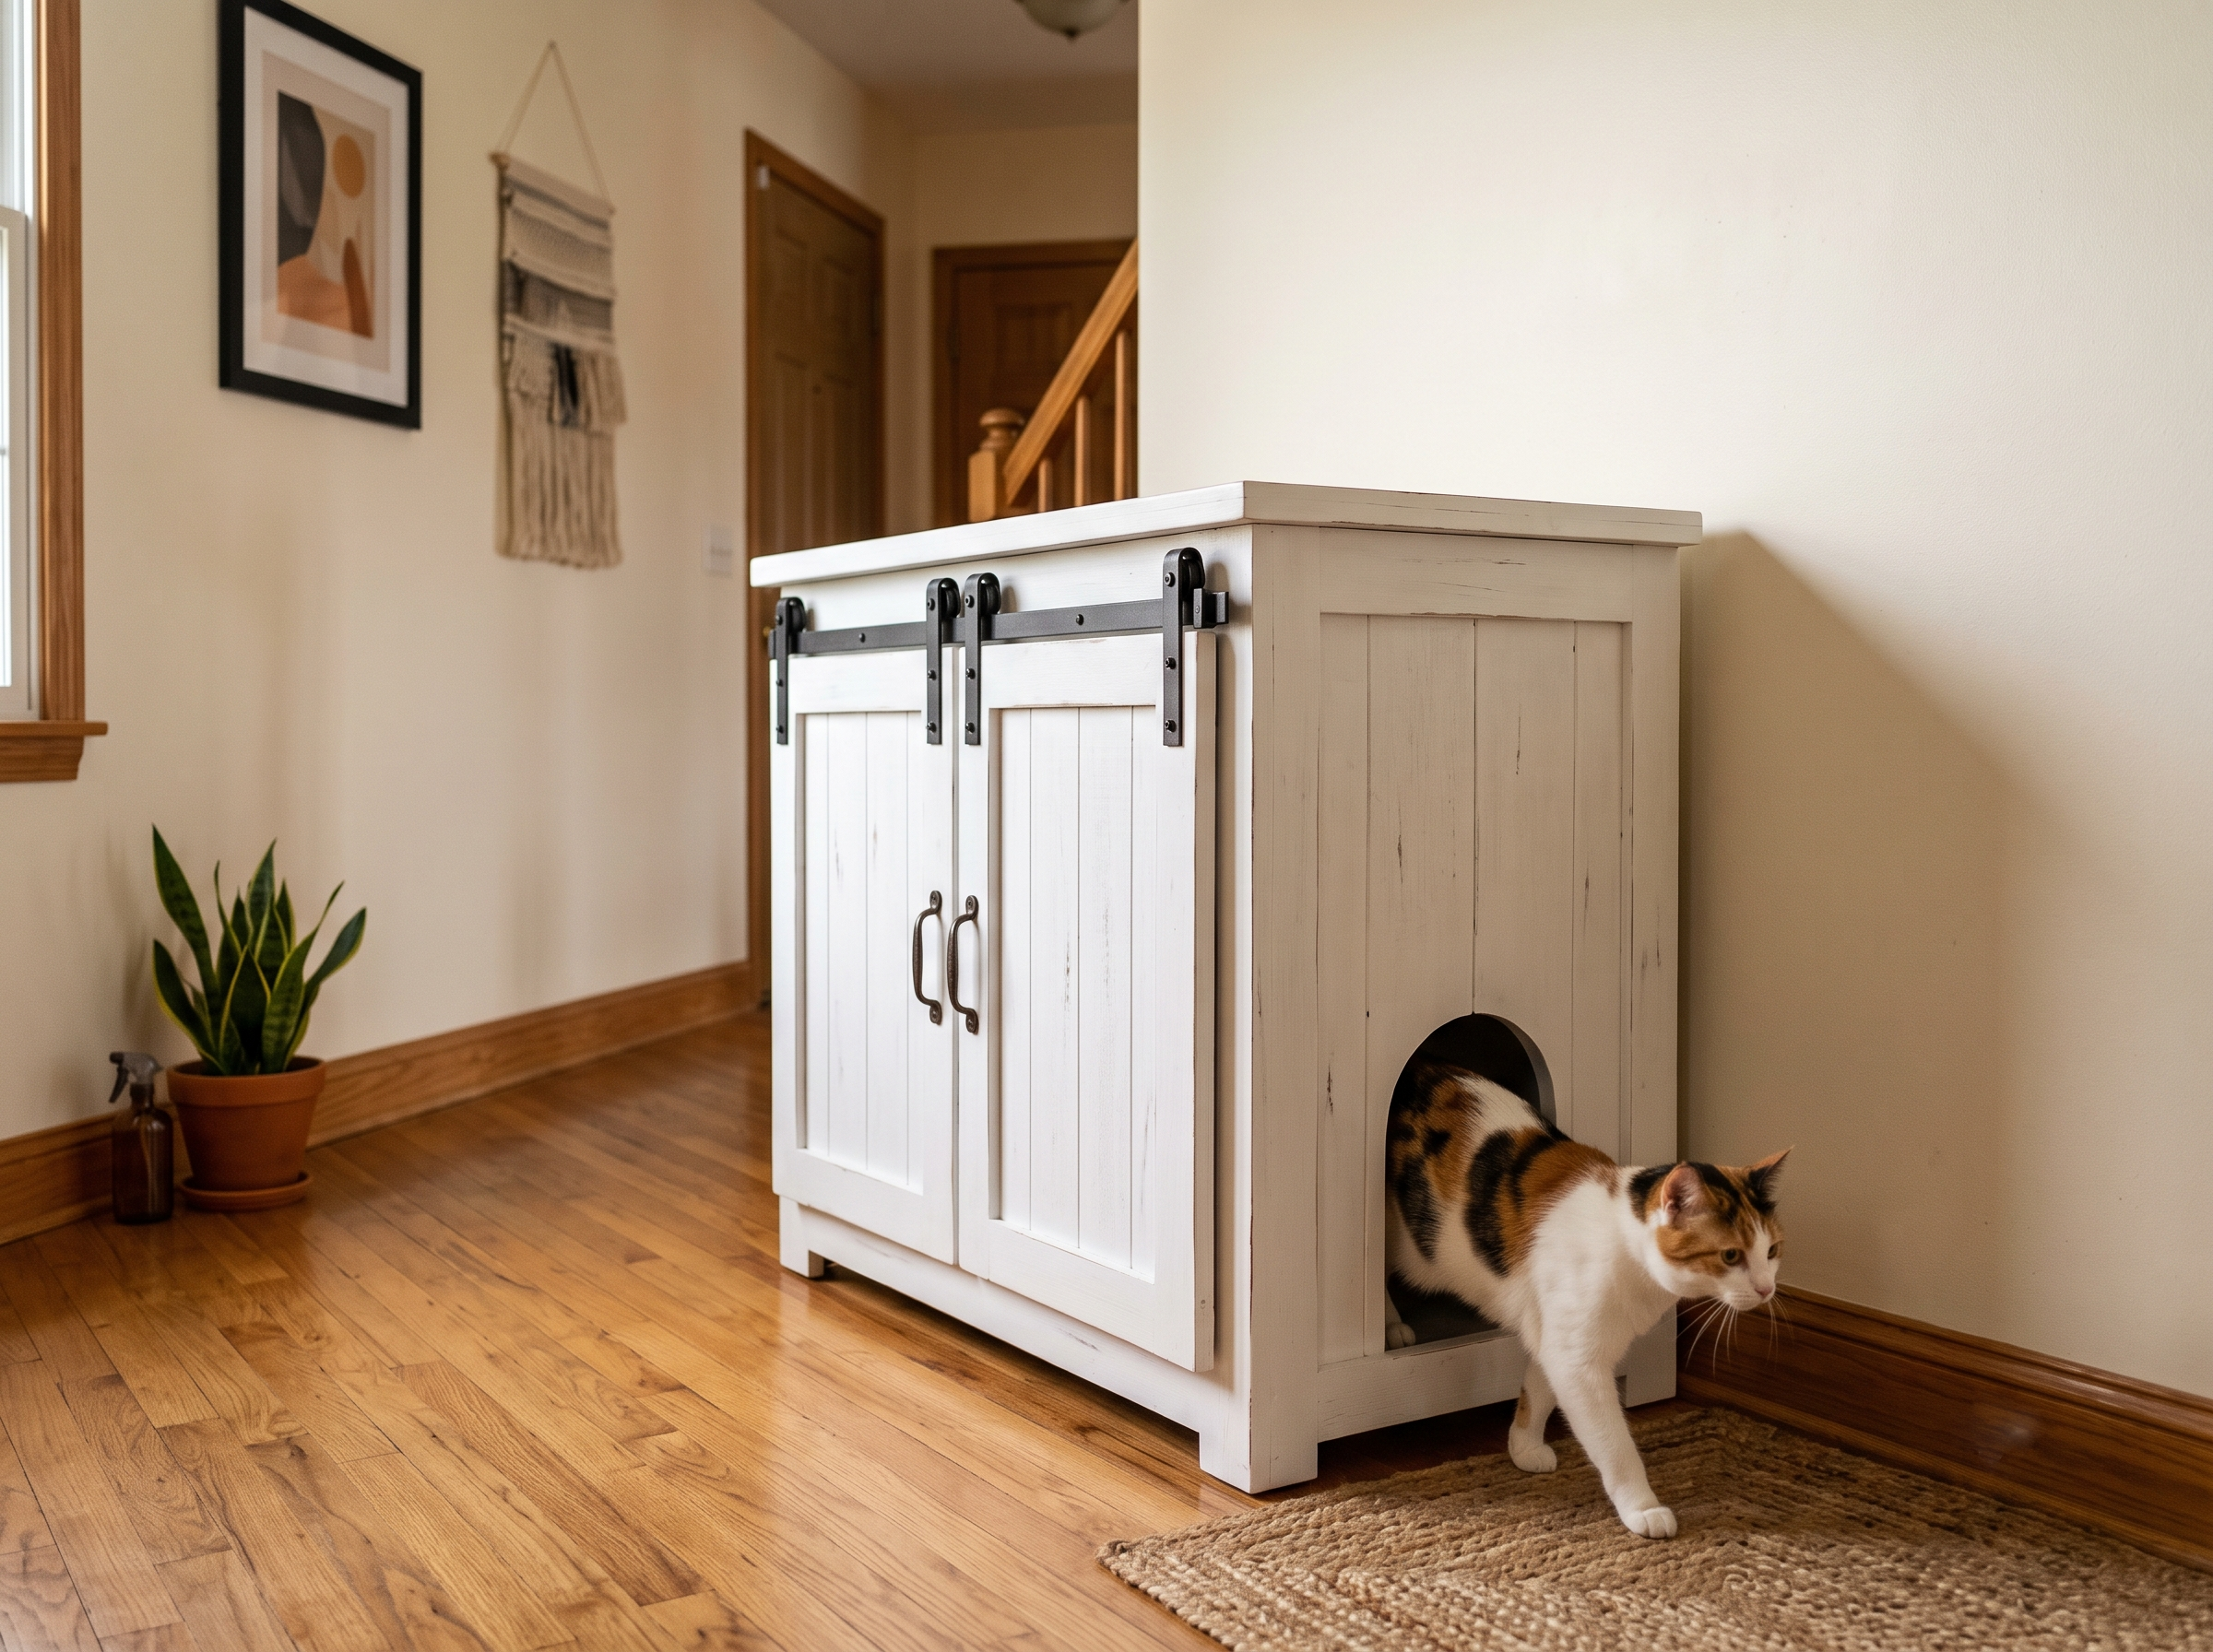
Why Most DIY Litter Cabinets Fail (The “No Airflow” Mistake)
Here’s the thing nobody tells you before you start sawing wood: a sealed box with a litter box inside is basically a smell incubator. Ammonia and odor compounds need somewhere to go. If your cabinet only has one vent, or no vent at all, the smell just sits there and builds until you open the door and it hits you in the face.
The fix isn’t fancier litter or more frequent scooping (though those help too). It’s airflow — air needs to move through the cabinet, not just sit in it. That means air in at one point and air out at another, ideally pulled through with a small fan.
This is the single biggest difference between a cabinet that works and one that just hides the smell behind a door for a few hours.
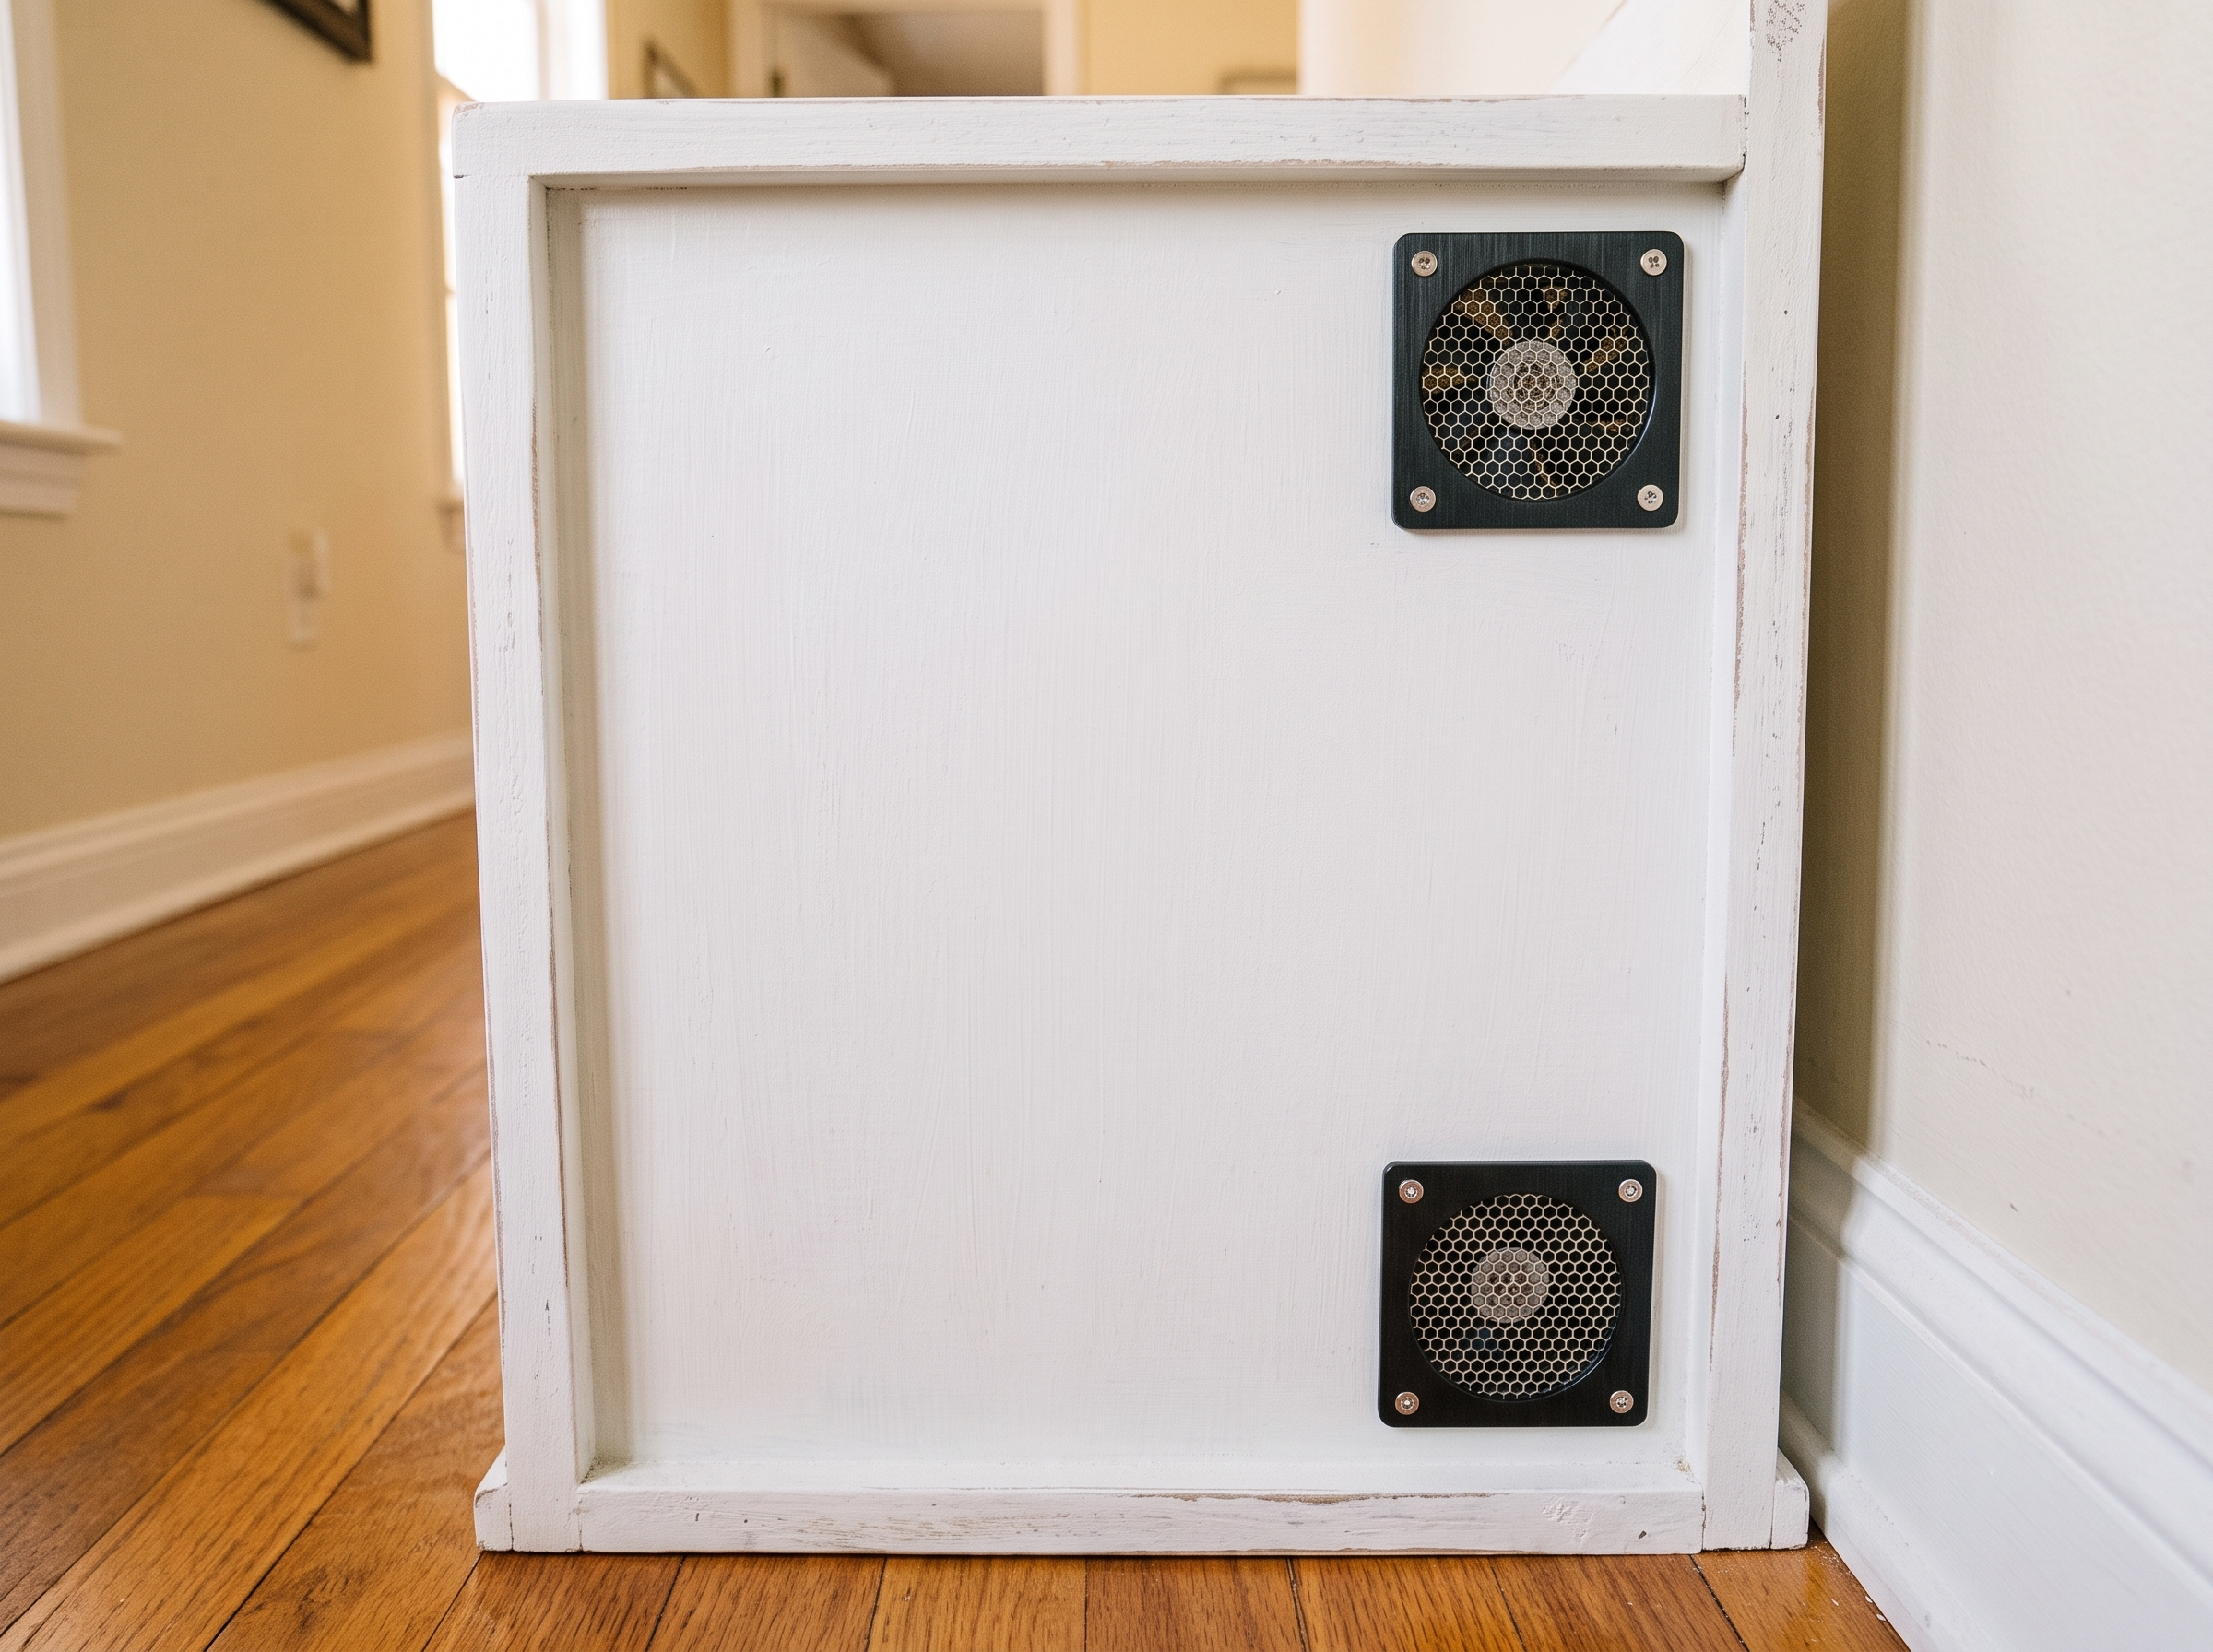
A small inline fan solves this. Something like the AC Infinity AIRPLATE S1 Quiet Cooling Fan System is built for enclosed cabinets and pulls air through instead of letting it stagnate. It’s designed for AV cabinets, but the same logic applies perfectly here — quiet, low-profile, and made to keep air moving in a closed space.
What You’ll Need
- A cabinet or repurposed furniture piece (or a purpose-built enclosure)
- Vent inserts for intake and exhaust airflow
- A small inline fan (see above)
- Hinges and a secure latch
- Carbon filter material
- Odor-control litter
- A litter mat for the entry point
- Non-toxic wood sealant, if you’re building from raw or repurposed wood
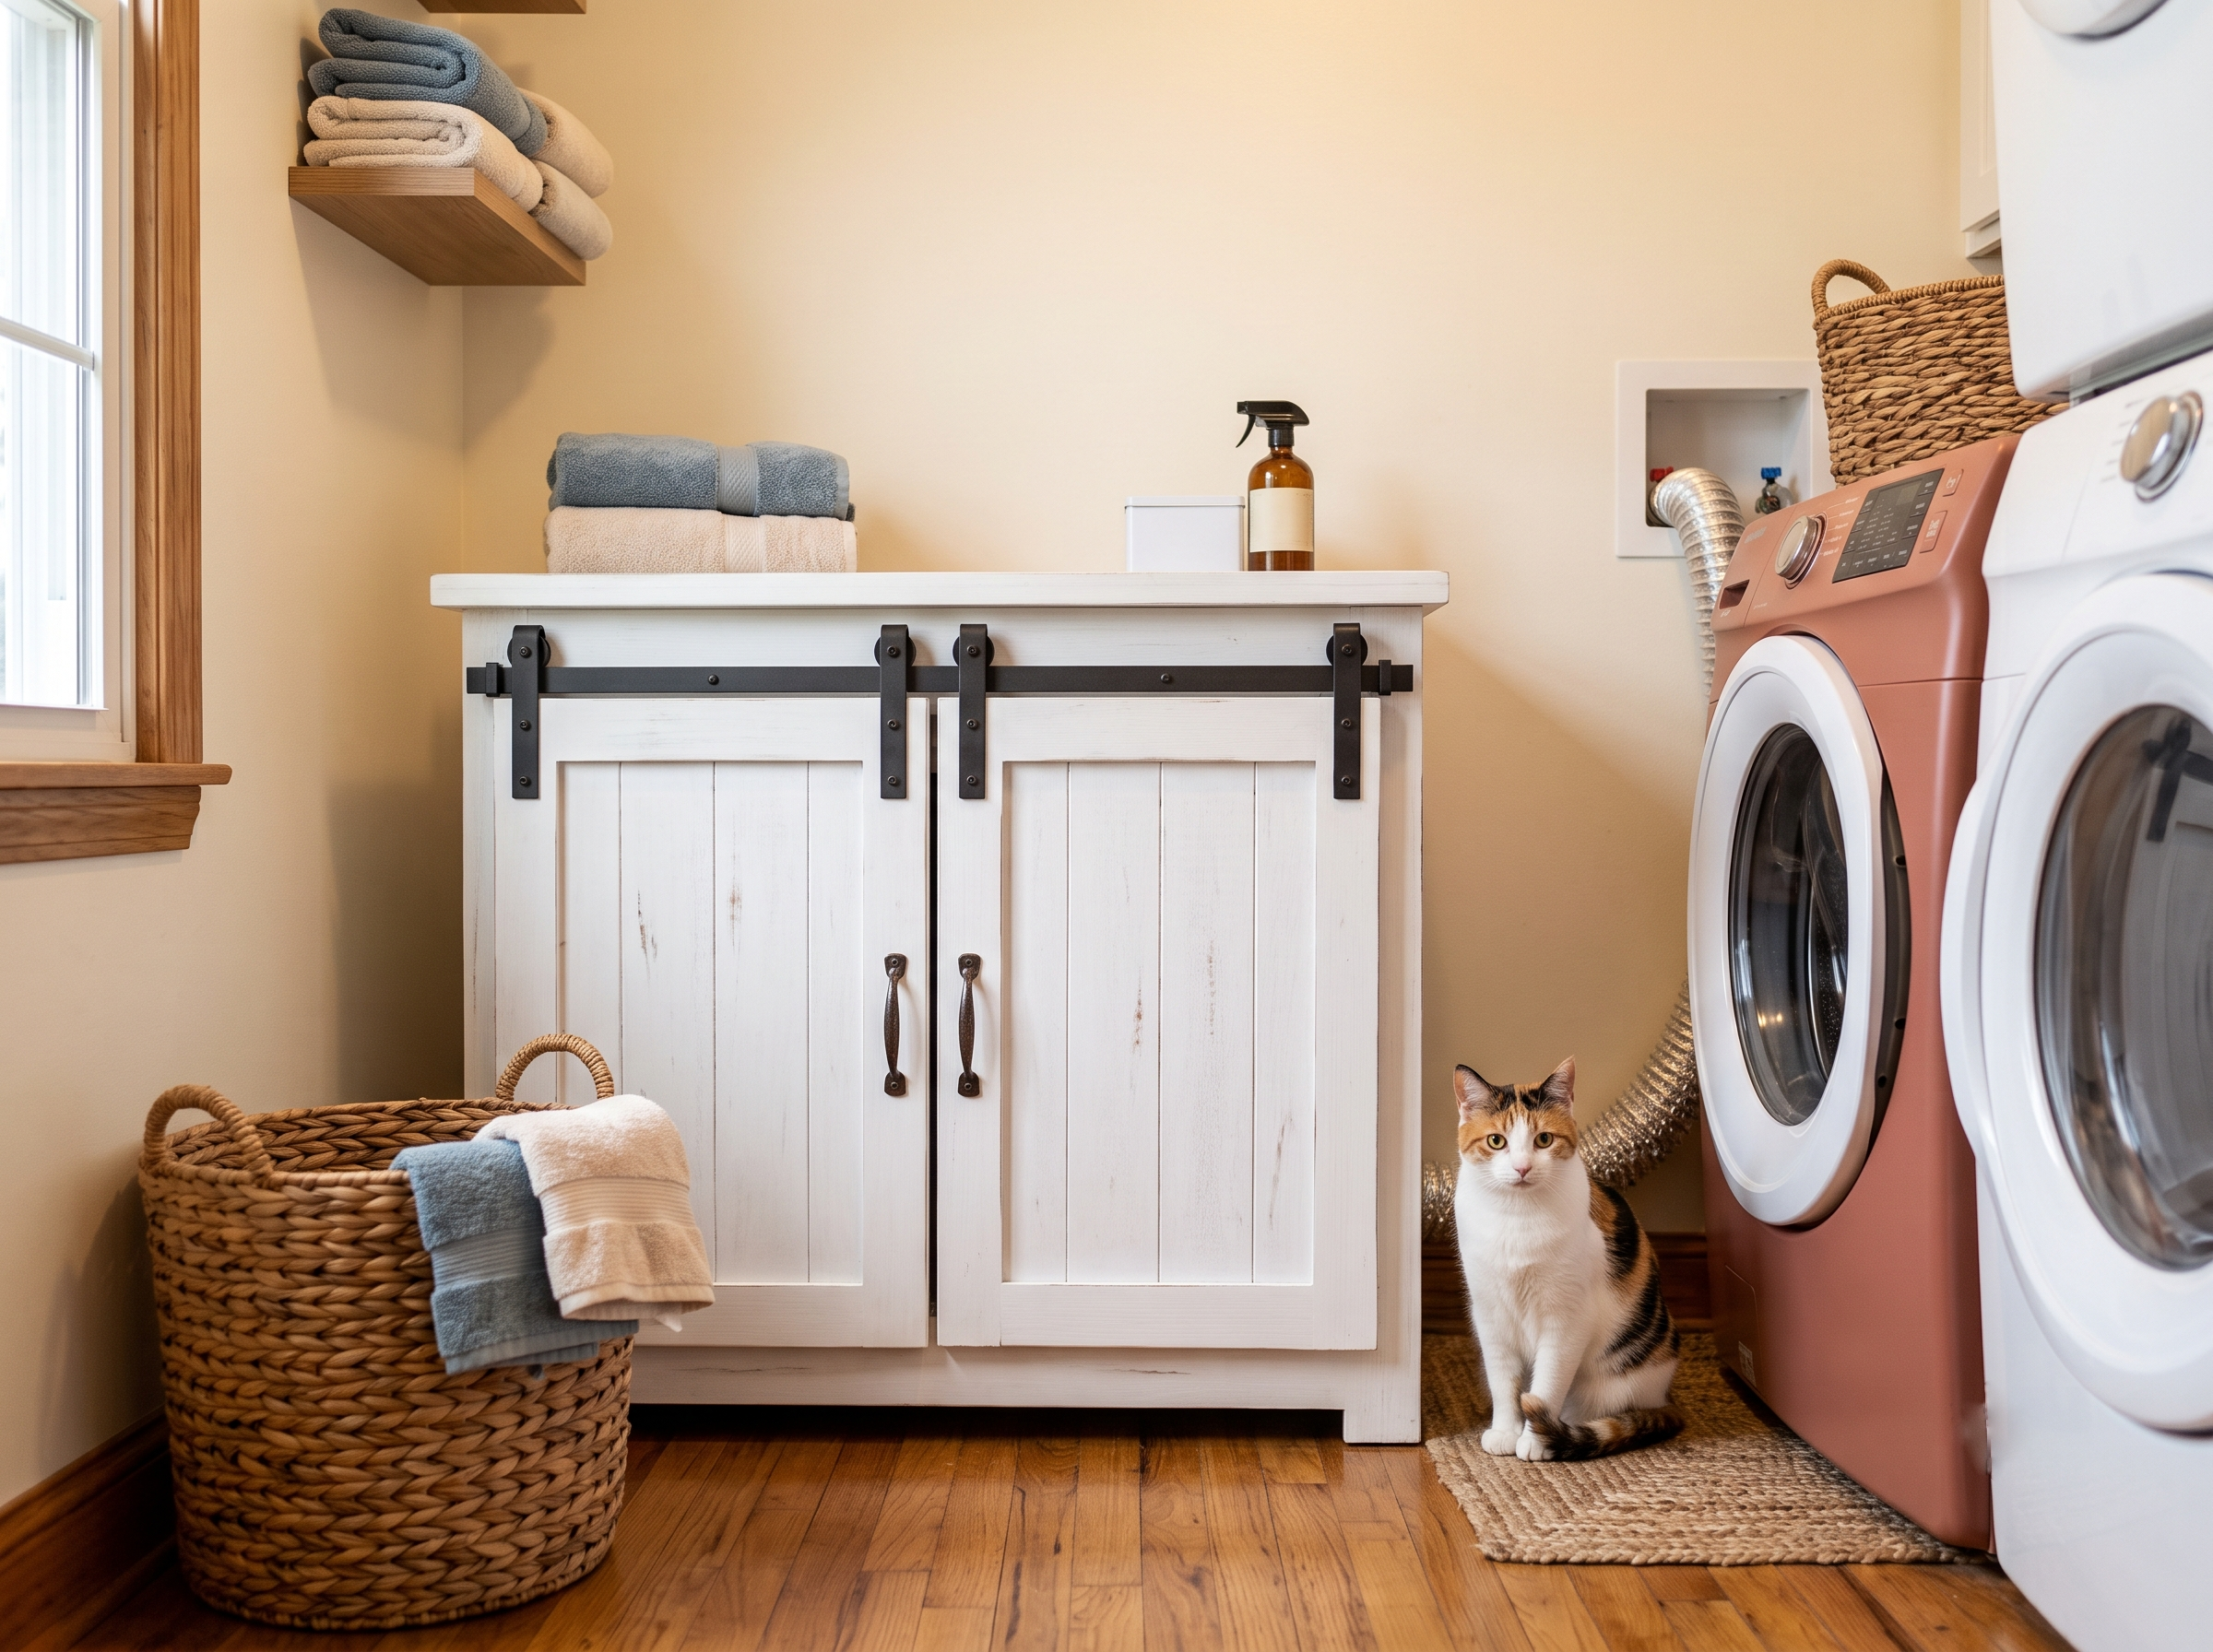
If you’d rather not build a cabinet from scratch, you can start with a piece made for this exact purpose. The Homhedy 31.5″ Cat Litter Box Enclosure with Barn Door gives you a finished, farmhouse-style cabinet with a real door, a pre-cut entry opening, and enough interior room for most litter boxes — so you’re modifying instead of building from zero. That’s a big head start if woodworking isn’t your thing.
Step-by-Step Build
Step 1: Choose and Prep the Cabinet Frame
Whether you’re starting with a repurposed dresser, an unfinished cabinet, or a purpose-built enclosure, make sure the interior is big enough for the litter box plus a few inches of clearance on every side. Cats don’t love cramped bathrooms any more than we do, and tight clearance kills airflow before it even starts.
Step 2: Cut (or Skip) the Entry Hole
If you’re using a pre-made enclosure like the Homhedy cabinet above, the entry hole is already cut for you — skip straight to Step 3.
Building from a raw cabinet, dresser, or other repurposed furniture? Size the entry hole to your cat, not to what looks tidy. A good rule of thumb is at least 6 inches wide and tall enough that your cat isn’t ducking to get through — bigger for larger breeds. A too-small opening will get skipped, and a skipped litter box is a bigger problem than a smelly one.
Step 3: Install Ventilation (This Is the Part That Matters)
This is where most tutorials stop short. You need two vents, not one: an intake near the bottom and an exhaust near the top, ideally on opposite sides of the cabinet so air is forced to travel across the whole interior rather than just near the door. Mount your fan at the exhaust vent to actively pull air out instead of relying on passive drift.
Step 4: Mount the Litter Box Tray Inside
Secure the tray so it doesn’t shift every time your cat digs. A shelf ledge, a shallow lip, or even simple L-brackets underneath work fine — you just don’t want the box sliding around every time it gets used.
Step 5: Add the Door or Access Panel
Hinge a full door or a smaller access panel so you can scoop and clean without pulling the whole cabinet apart. A barn-door style panel, like the one on the Homhedy enclosure above, is a nice option because it swings clear instead of blocking the opening while you’re cleaning.
Odor Control Layer (Beyond Airflow)
Airflow does the heavy lifting, but it works even better paired with materials designed to trap and neutralize odor rather than just move it around.
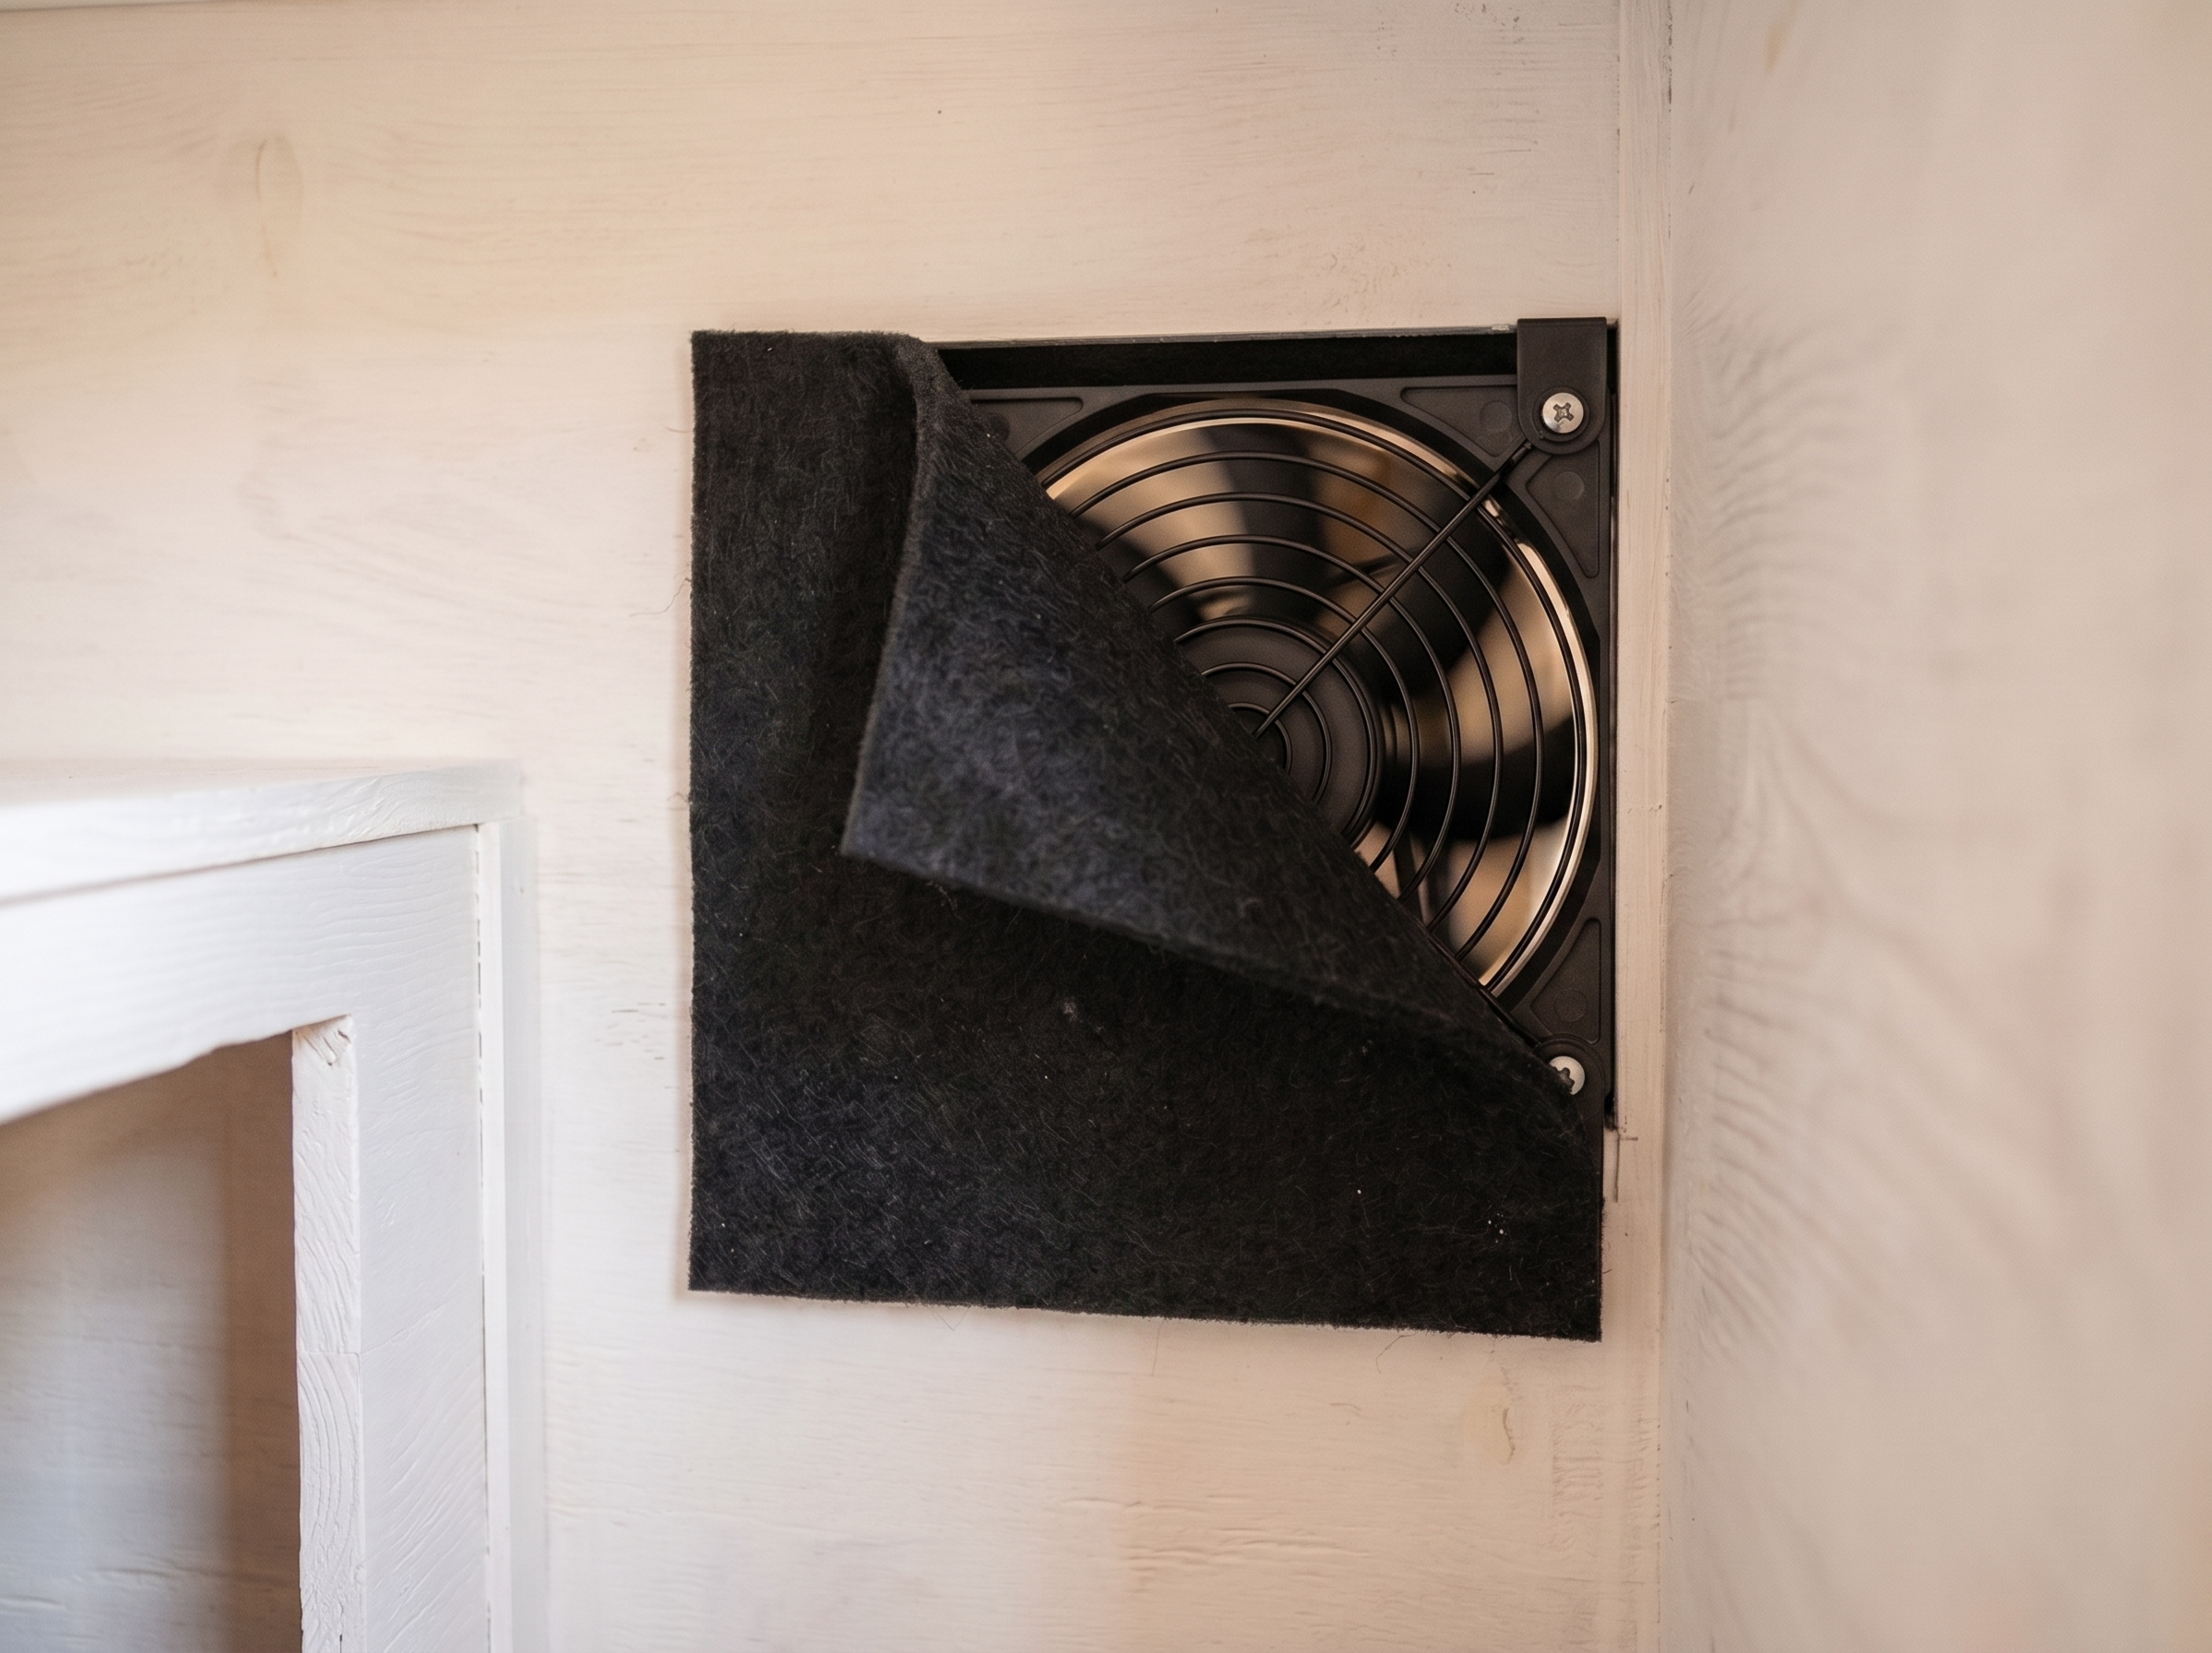
Line your vent openings with a cut-to-fit carbon filter, like this Breathe Naturally Universal Carbon Activated Air Filter. It’s sold as a sheet you trim to size, so it fits basically any vent opening, and it’s specifically made to absorb the kind of odors a litter box produces.
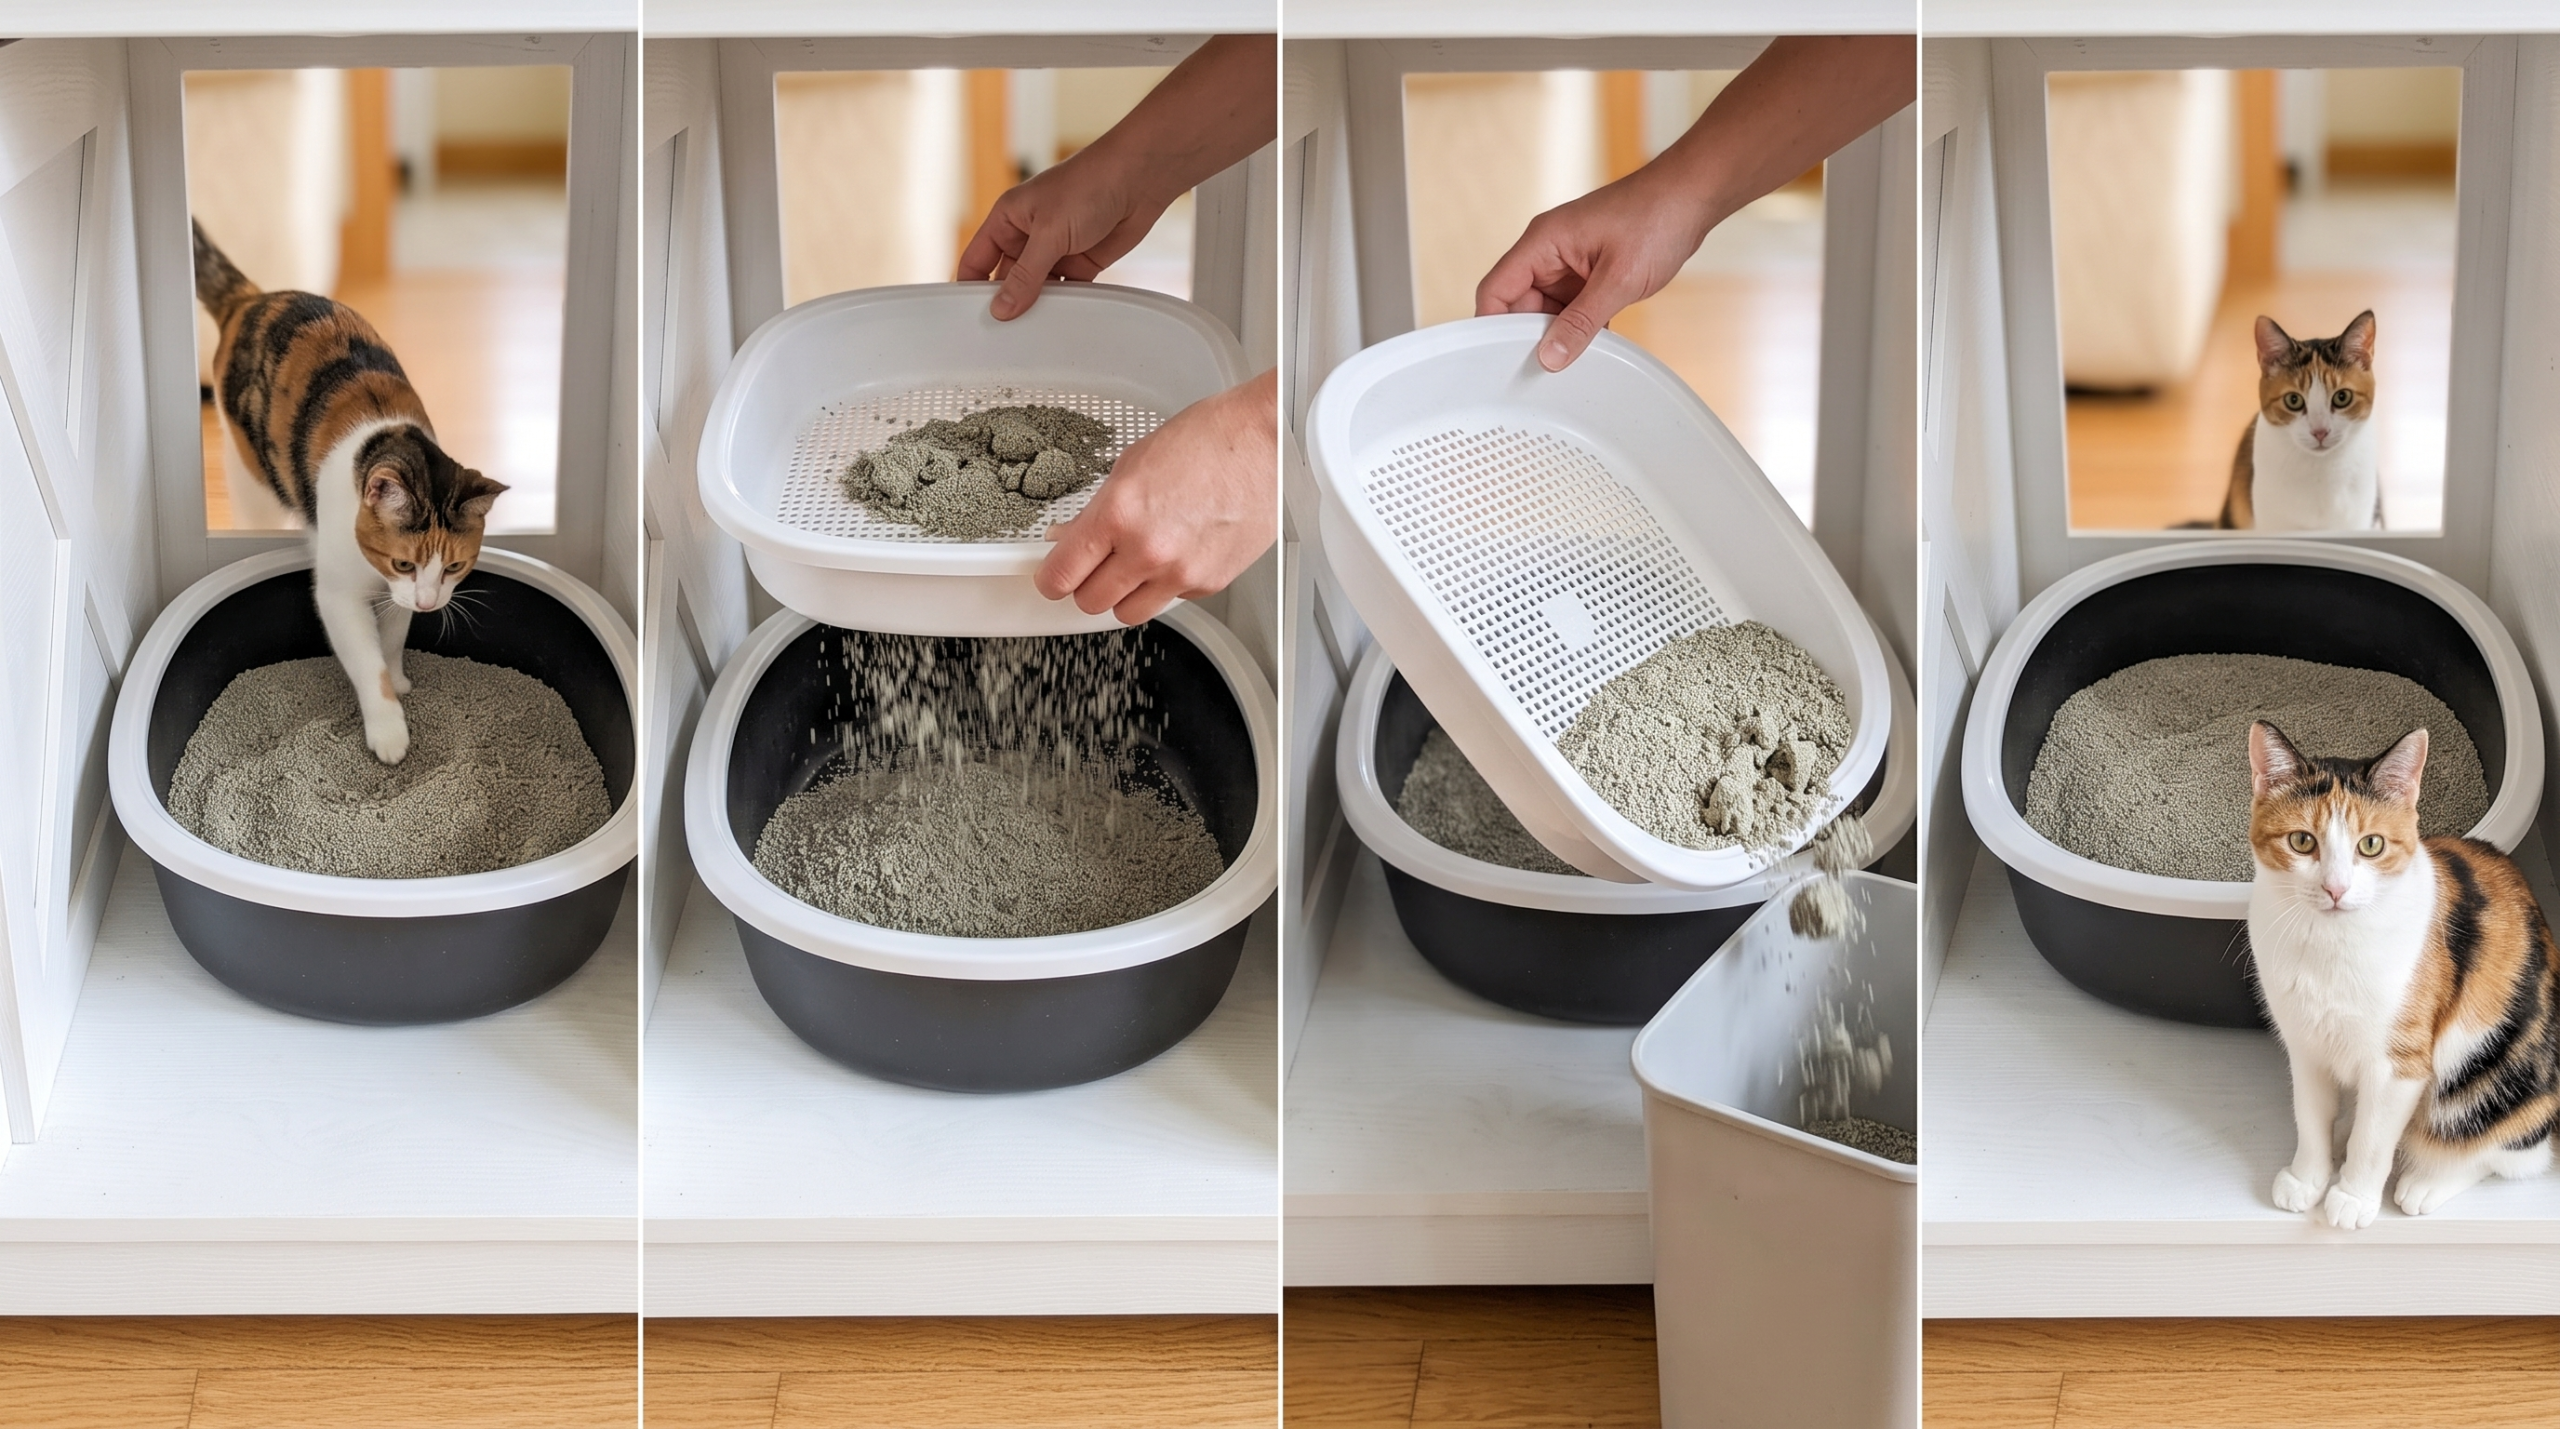
The litter itself matters just as much as the box around it. Arm & Hammer Clump & Seal Platinum Clumping Cat Litter is built around baking soda odor eliminators and forms hard clumps that are easy to scoop cleanly, which means less residue left behind to smell over time.
Scooping is easier with the right tray, too. The Arm & Hammer Large Sifting Litter Box with Microban has built-in antimicrobial protection and a sifting design that makes lift-shake-and-pour cleanup fast, so you’re more likely to actually keep up with it.
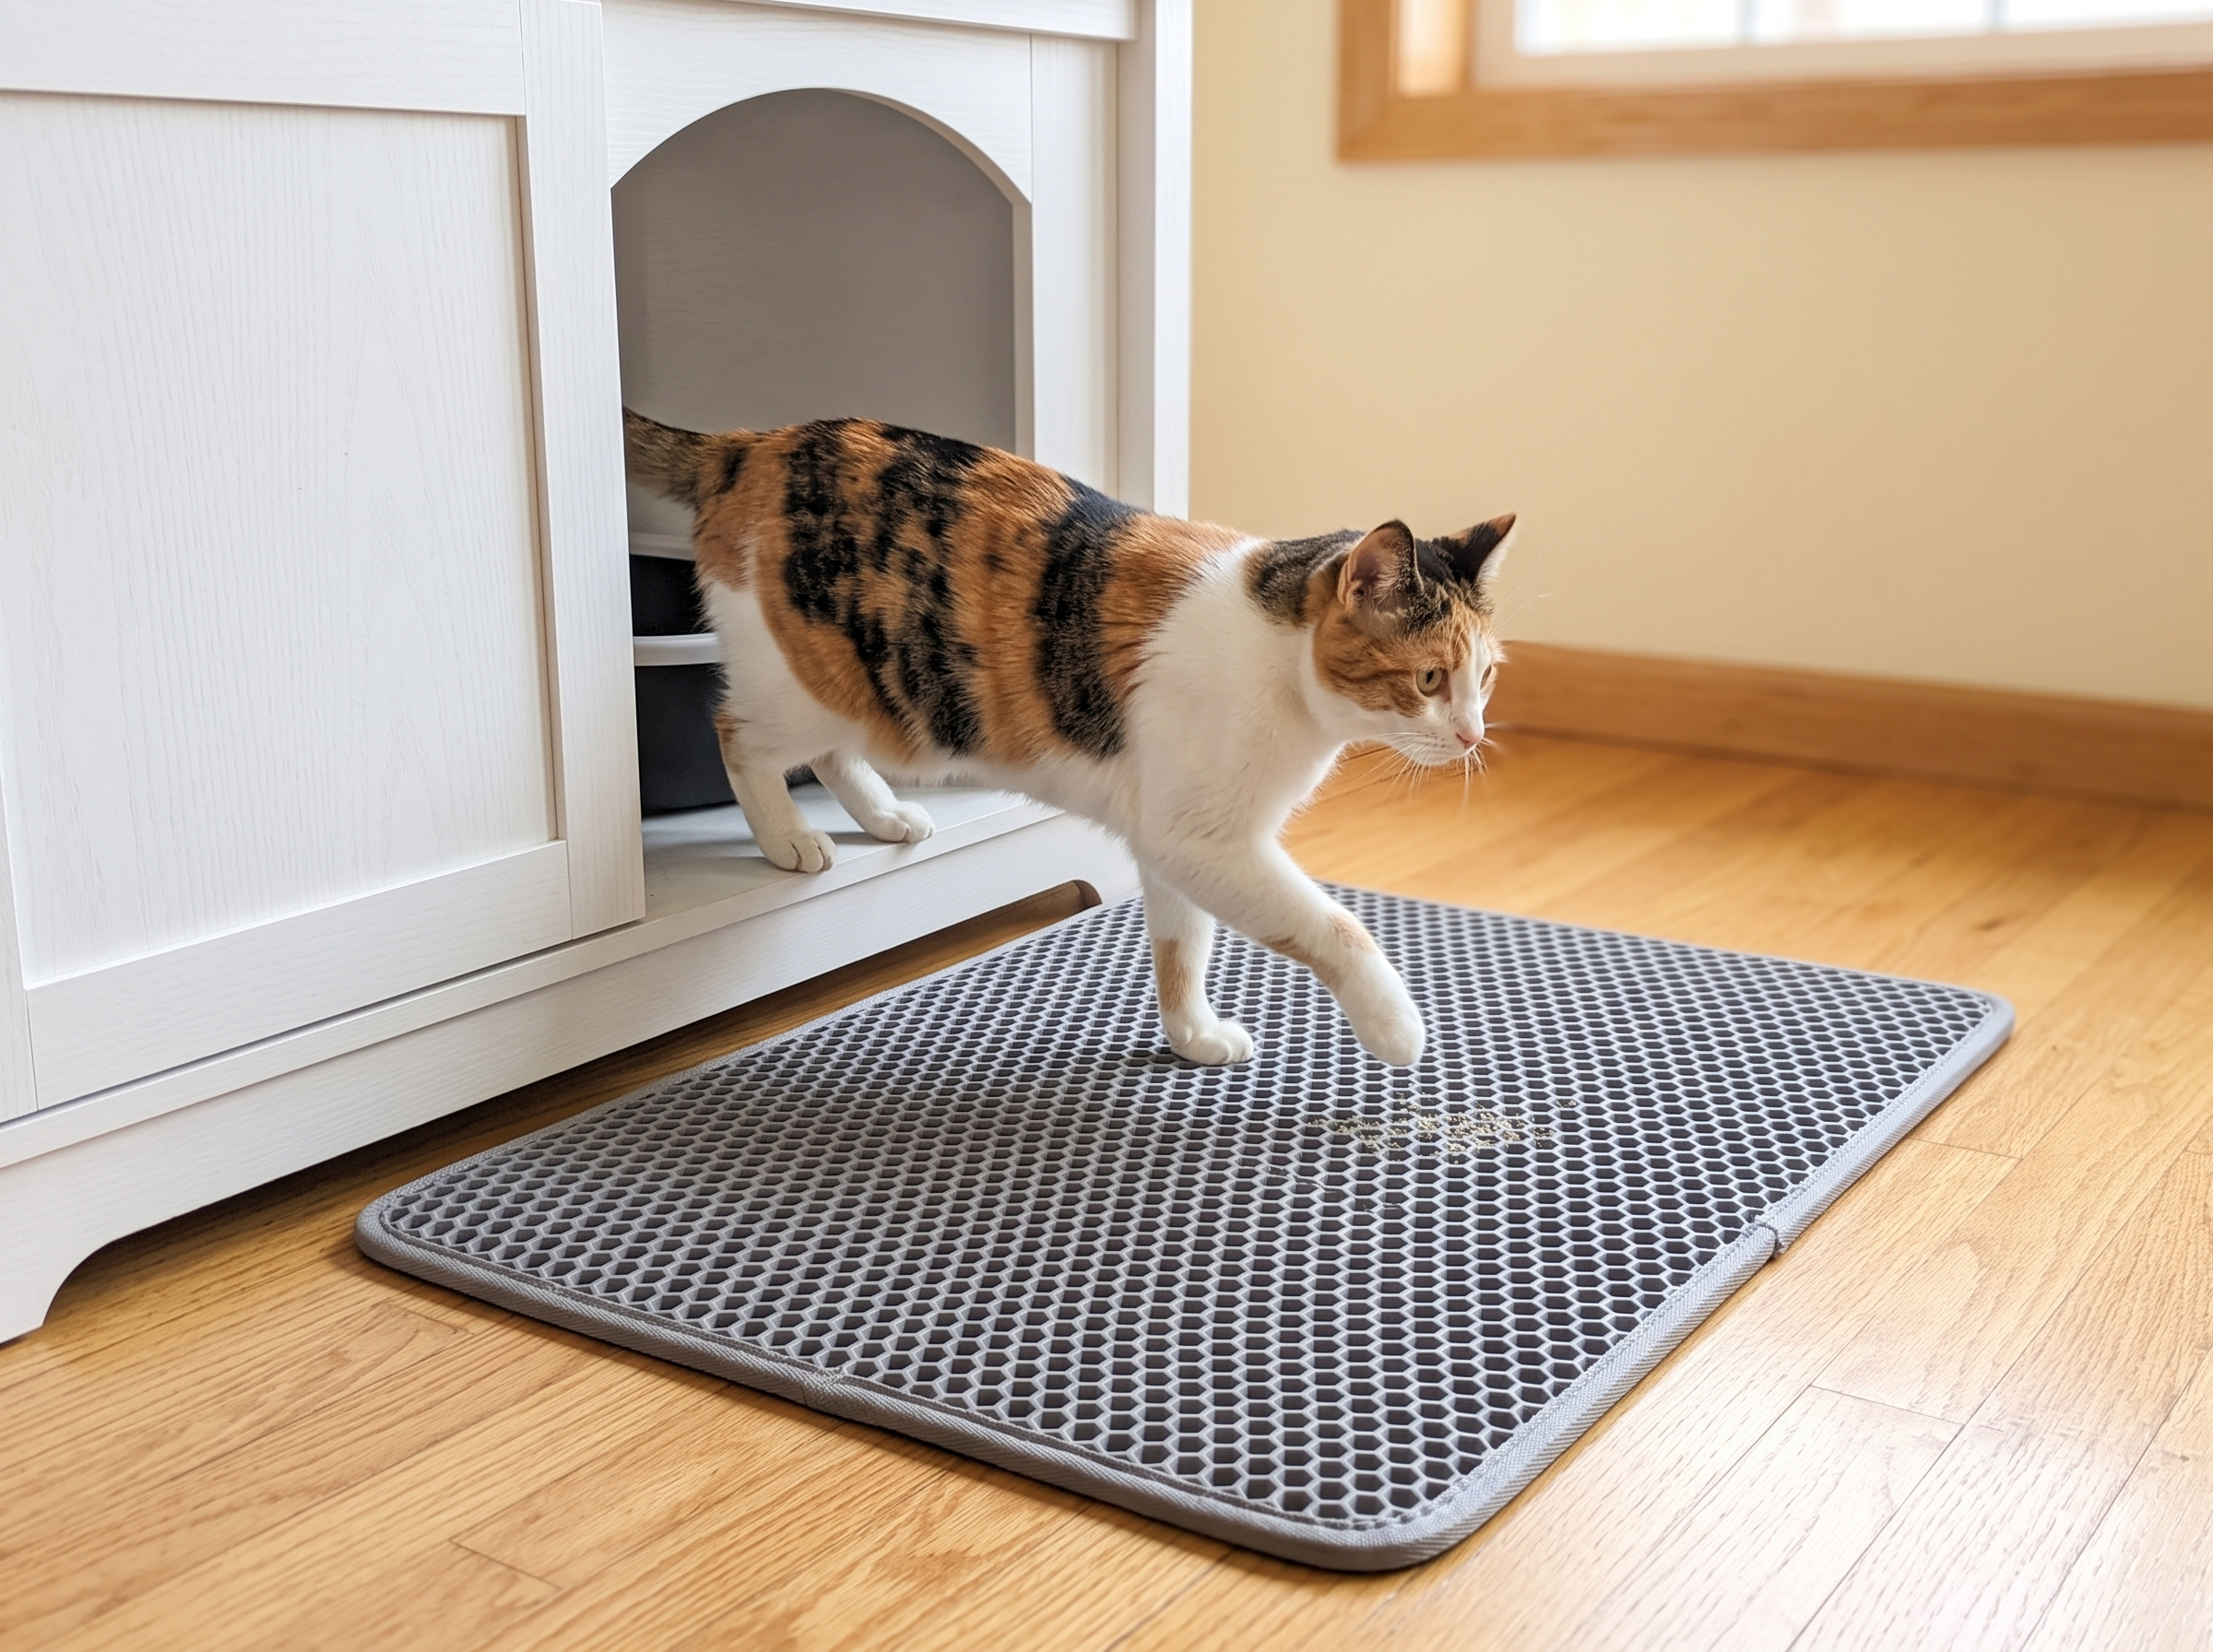
Finally, put a mat at the entry point. Cats track litter every time they leave the box, and that scattered litter is its own odor and mess problem outside the cabinet. A Pieviev Cat Litter Mat with a honeycomb design catches particles before they spread and has a waterproof base to protect your floors.
Keeping It Pet-Safe (Latches and Materials)
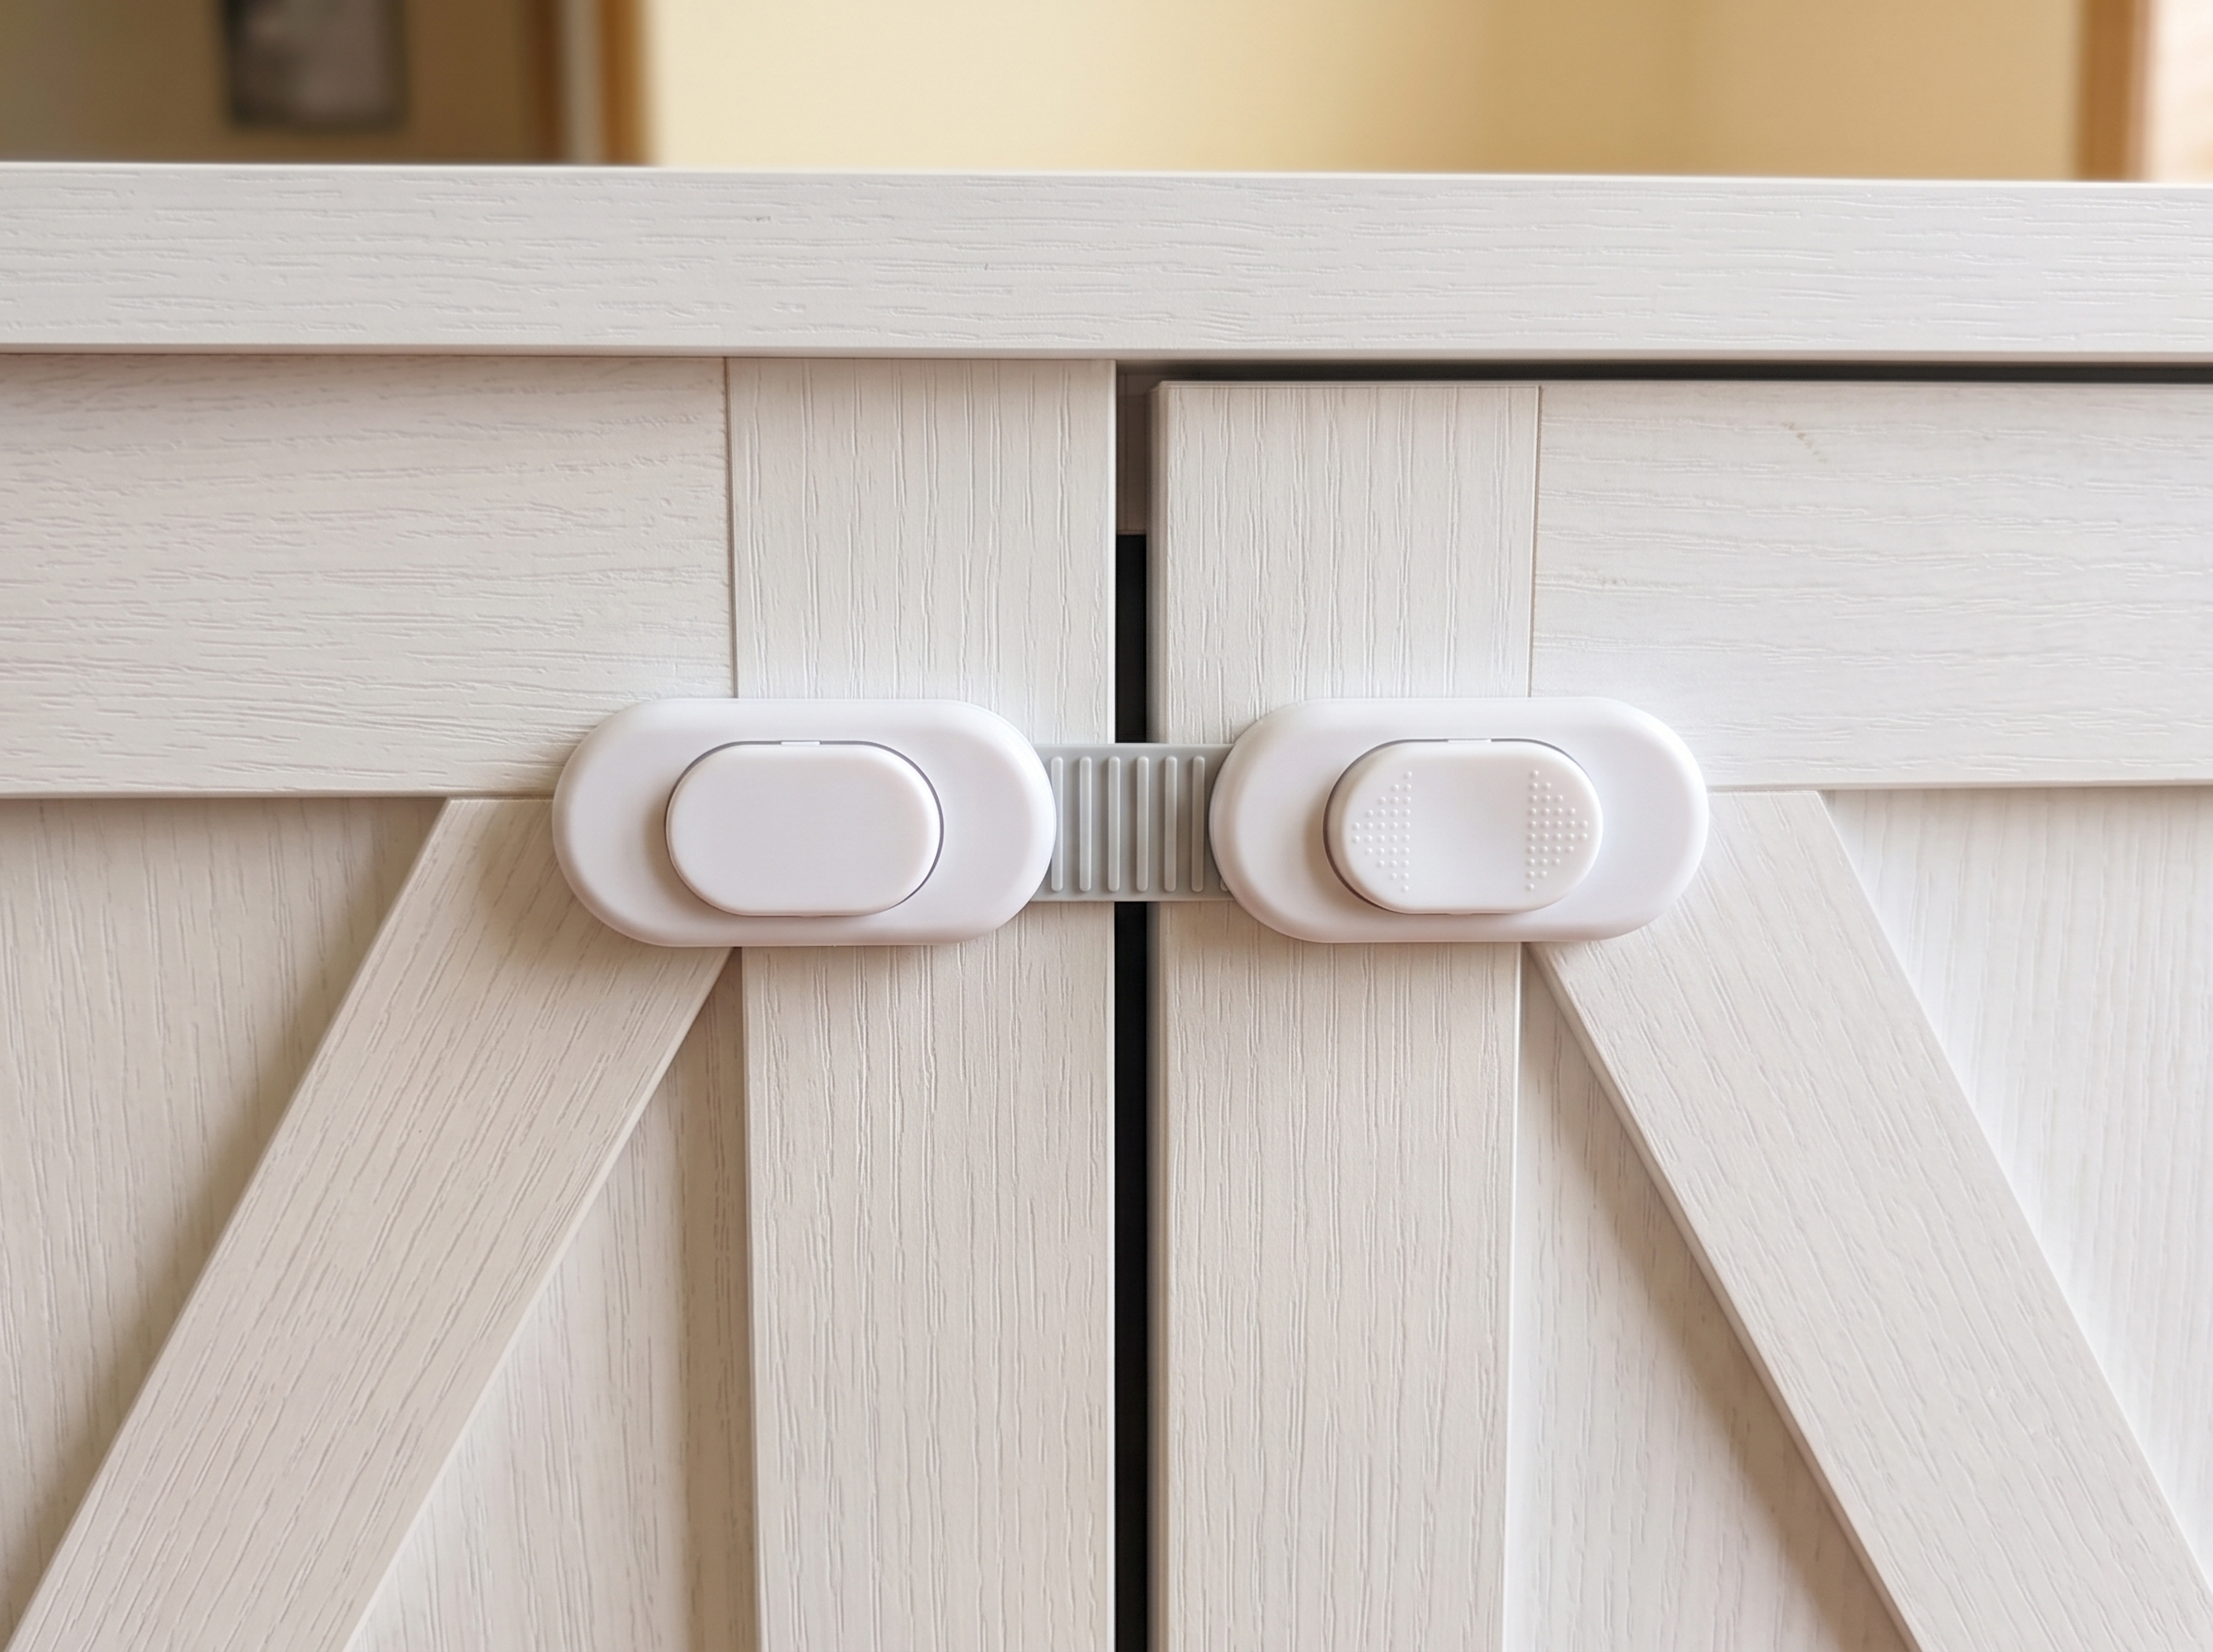
If you have a dog in the house, a hidden litter box cabinet also needs to be a dog-proof one. Dogs raiding litter boxes is common, and not great for them. A simple childproof latch keeps curious dogs (and toddlers) out while your cat can still nose the door open. SKYLA HOMES Child Safety Cabinet Locks install without screws or magnets, so they’re an easy add to almost any cabinet door.
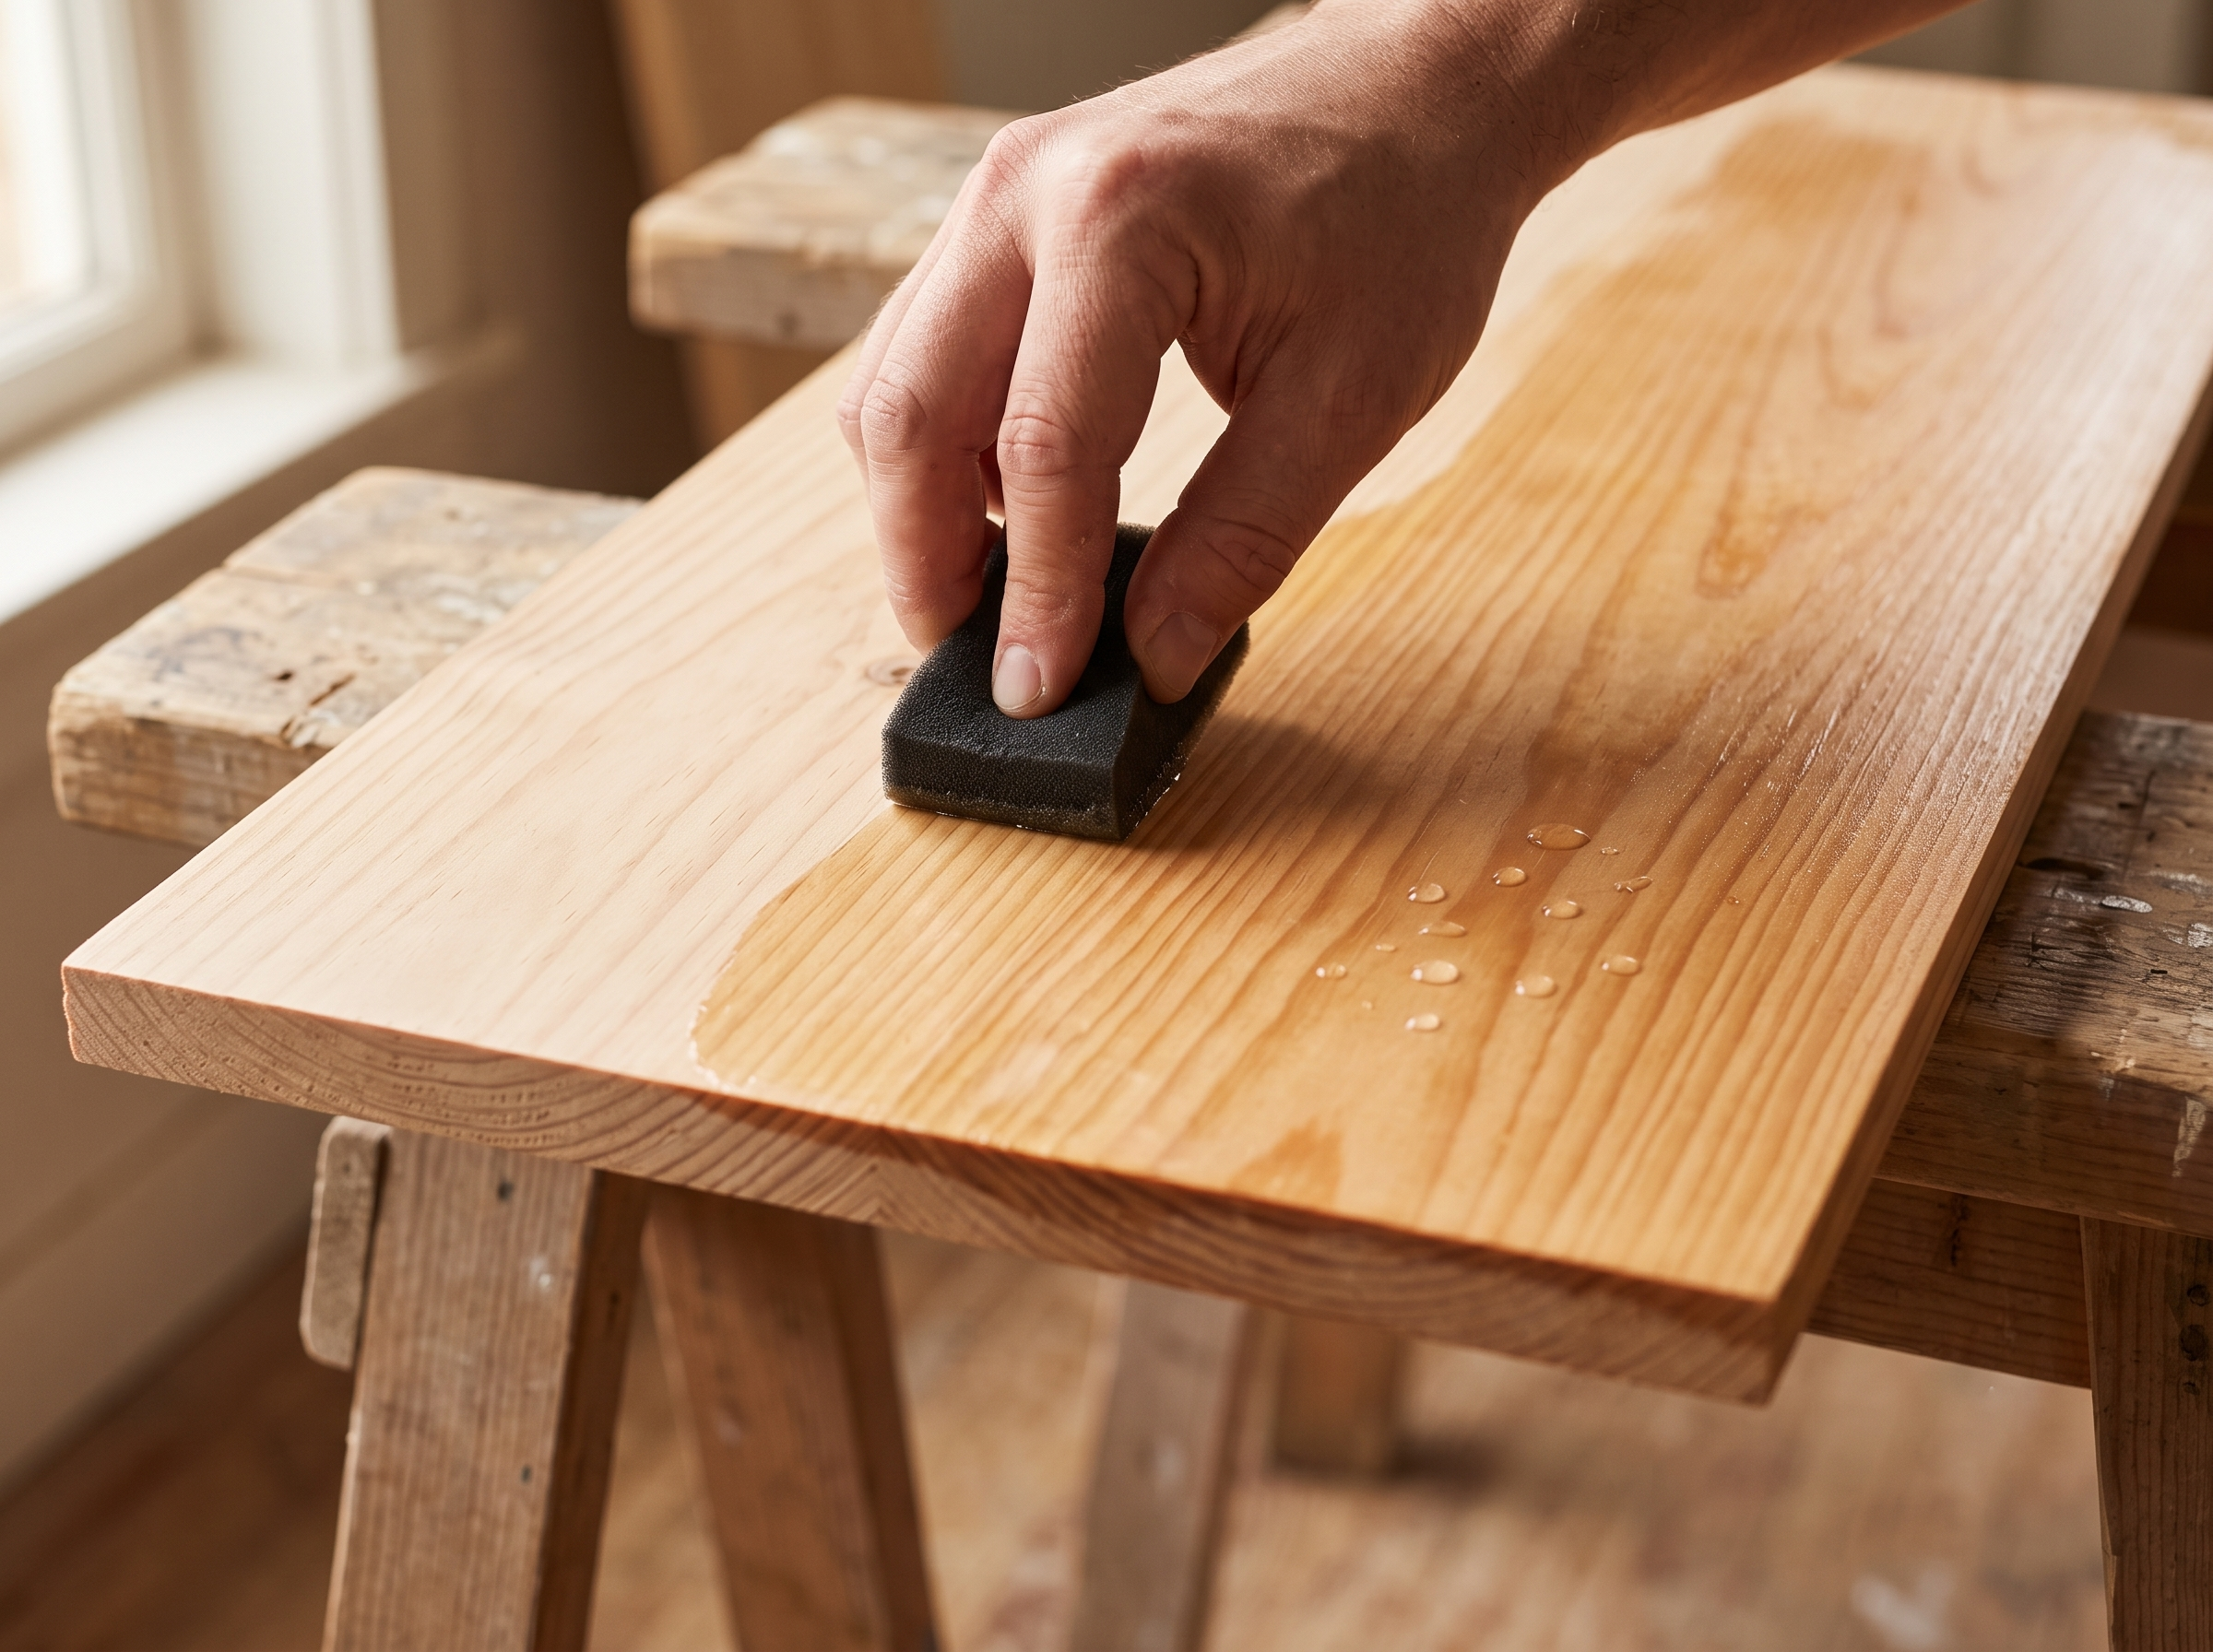
If you’re building with raw or repurposed wood, seal it before your cat spends any time around it. Skip anything with harsh chemical fumes. A food-contact-safe, plant-based Garden Box Sealer is non-toxic and works well on pet furniture, not just planters and raised beds — it protects the wood without off-gassing anything your cat will be breathing in an enclosed space.
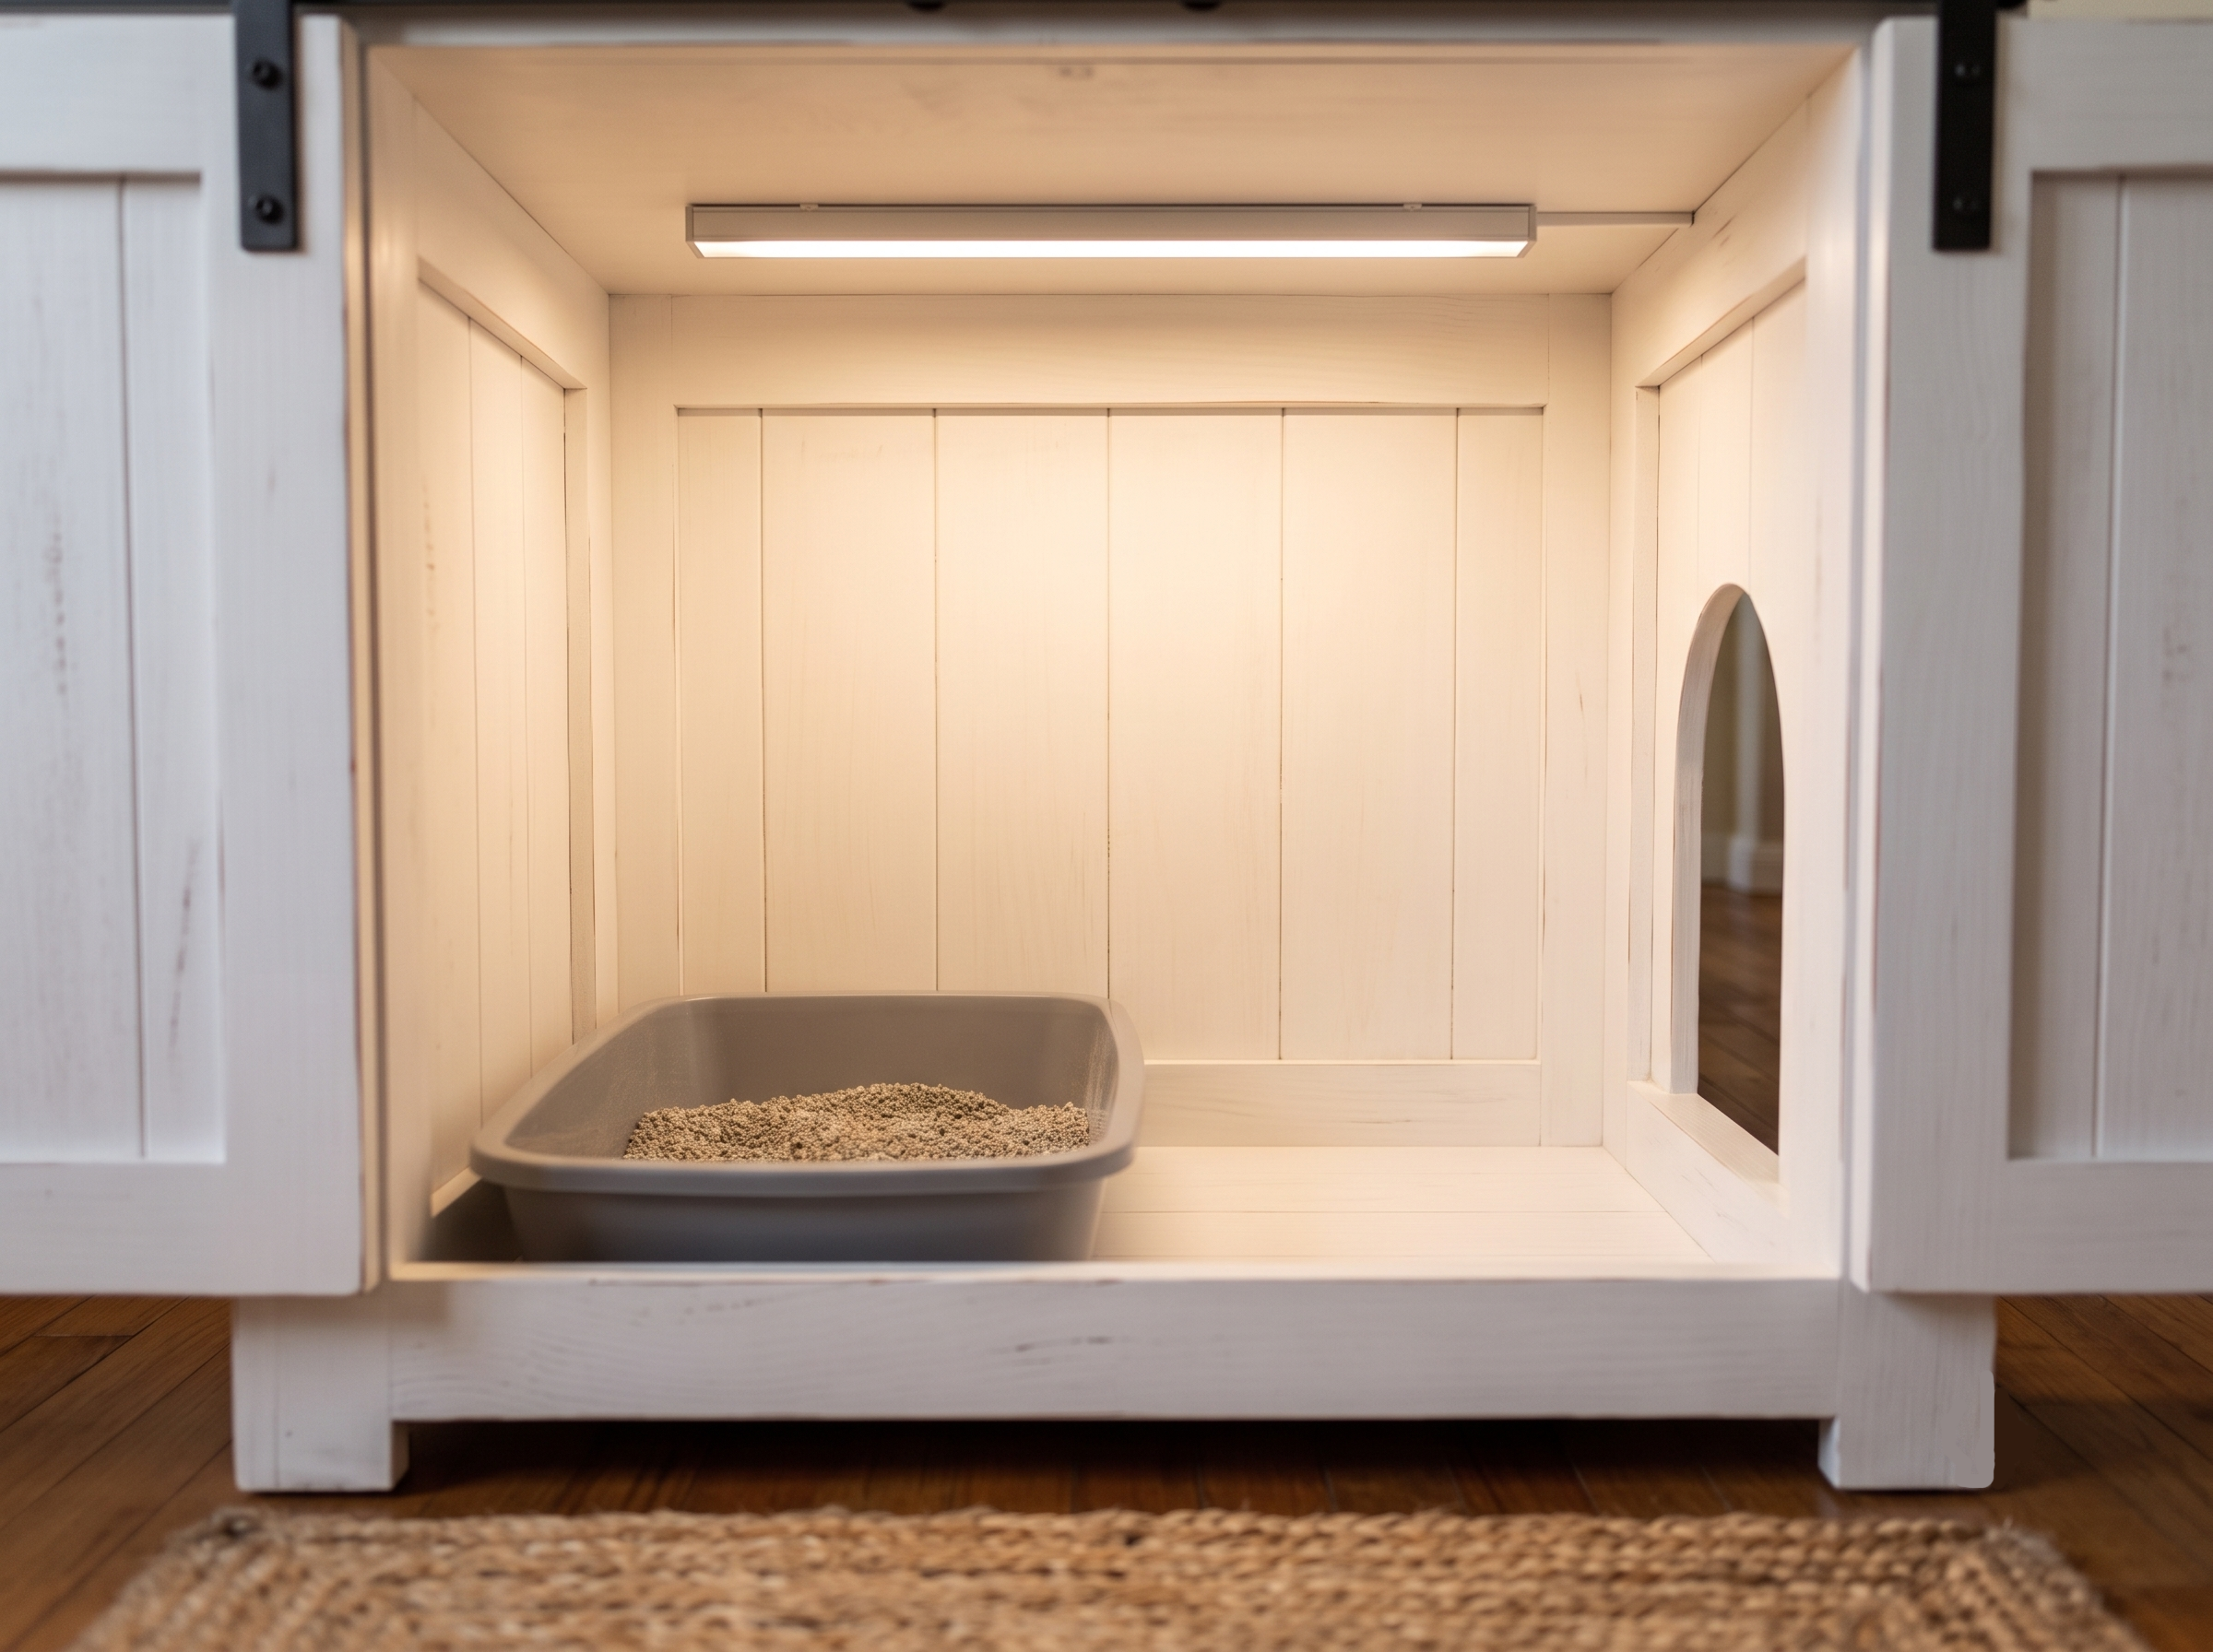
Pro tip: Add a battery-powered, motion-sensor LED light strip inside the cabinet. It makes cleaning way easier since you’re not scooping in the dark, and it turns off on its own so you’re not wasting battery. The MCGOR Under Cabinet Lighting is rechargeable, magnetic, and dimmable, so it tucks in easily without any wiring.
Maintenance Tips
Even the best-built cabinet needs upkeep to stay odor-free:
- Scoop daily if you can — every other day at minimum
- Do a full litter change every 1–2 weeks depending on how many cats use it
- Swap or refresh the carbon filter roughly every 4–6 weeks, sooner if you notice odor creeping back
- Wipe down the tray and cabinet interior monthly with a pet-safe cleaner
- Check the fan periodically to make sure it’s still running and not clogged with dust or litter debris
Wrap-Up
A hidden litter box cabinet only works if it’s hidden and ventilated. Skip the airflow step and you’ve just built a fancier-looking smell trap. Get the airflow right, layer in odor control, and keep up with basic maintenance, and you’ll have a setup that actually disappears into your home. If you’re tackling more pet-proofing projects around the house, check out our guide on how to pet-proof a living room without a baby gate for more ideas that don’t sacrifice your home’s style. No more excusing the smell to guests.
Pingback: How to Build a Simple Elevated Dog Feeding Station