How to Build a Simple Elevated Dog Feeding Station
If you’ve ever kicked a plastic water bowl across the kitchen floor at 6 a.m., you know the drill. Soggy corners, a skidding bowl, a dog who somehow still manages to fling water three feet in every direction. It’s a small daily mess, but it adds up.
The fix isn’t just buying a raised bowl stand and calling it done. It’s building an elevated dog feeding station that looks like a real piece of furniture — something with a proper wood surround that hides the stand, keeps the bowls locked in place, and actually fits your kitchen instead of looking like it wandered in from a pet store aisle.
Here’s how to build one this weekend.
As an Amazon Associate I earn from qualifying purchases.
Why Height Actually Matters
Before you grab any wood, it helps to understand why elevation matters in the first place. For medium-to-large breeds, hunching down to eat off the floor puts strain on the neck and shoulders, especially as dogs get older. An elevated setup lets them eat with a more natural posture, which can make mealtime more comfortable for dogs with joint stiffness or arthritis.
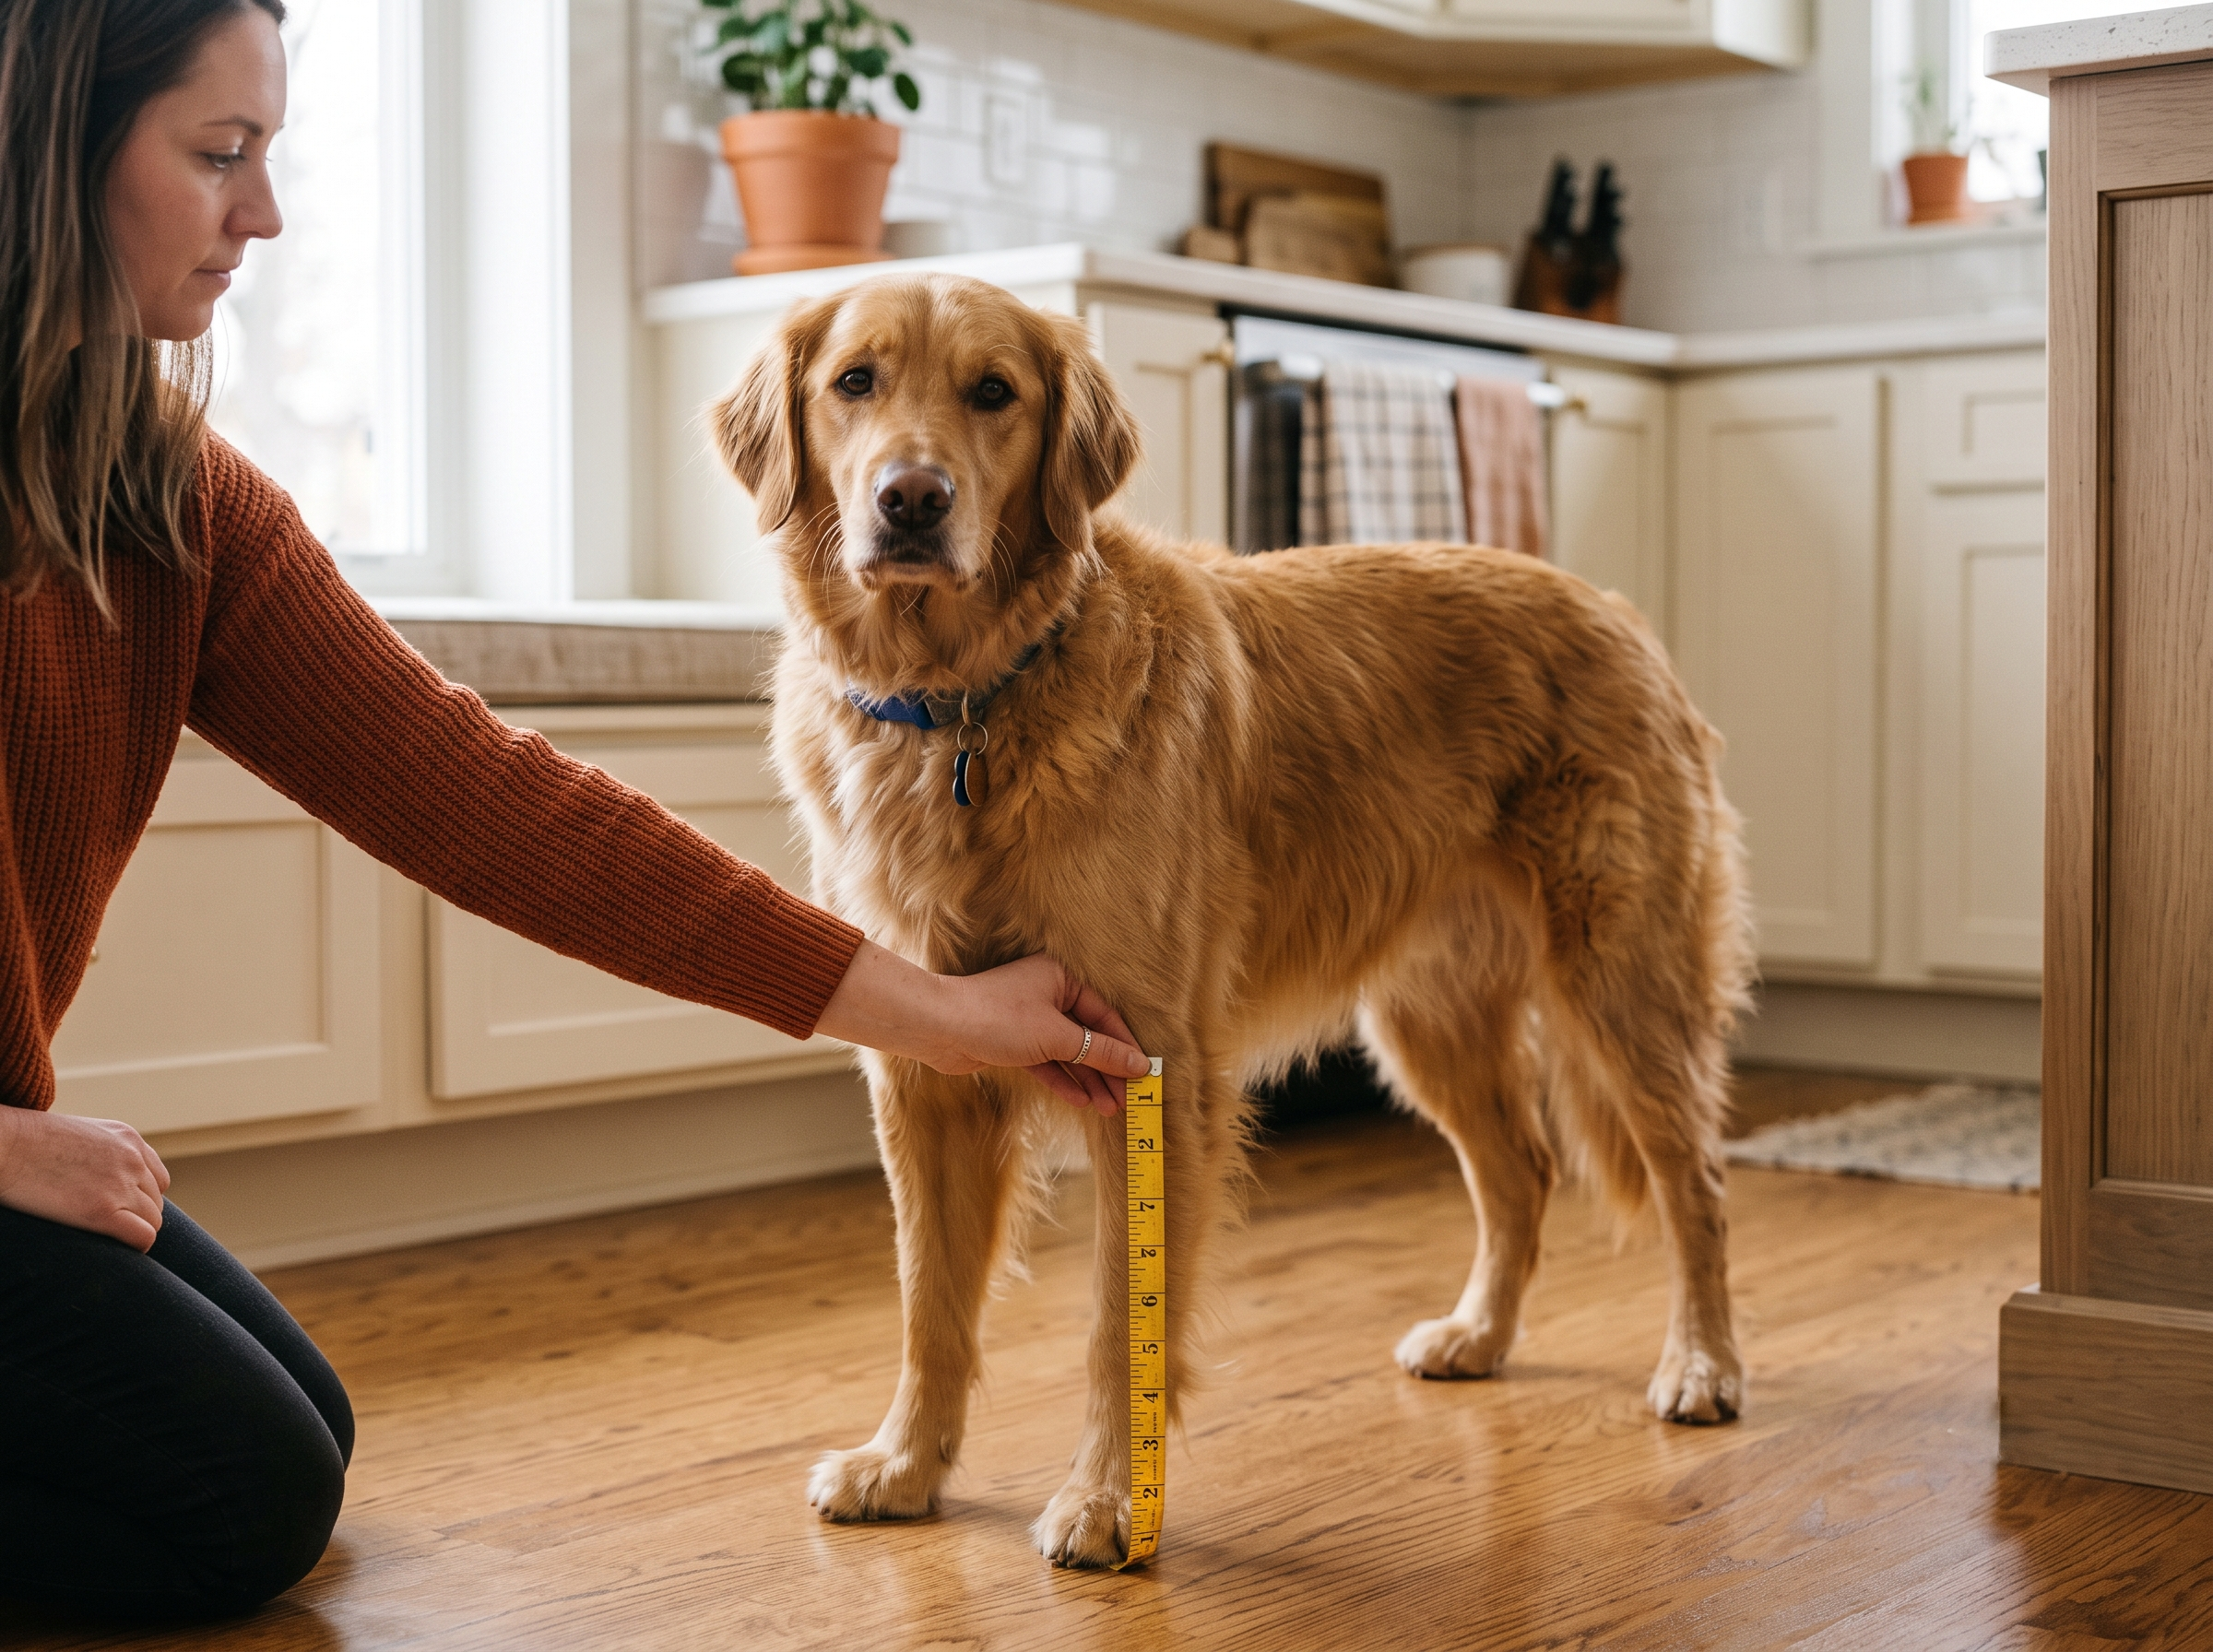
Here’s the detail most store-bought stands get wrong: they’re sized to shoulder height. What you actually want is elbow height. Measure your dog from the floor to the point where the front leg bends — that’s your target bowl height, not the top of their shoulders. Get this wrong and you’ve just built a fancier version of the same awkward angle you were trying to fix.
Before You Buy
Grab a tape measure and get your dog’s elbow-to-floor measurement while they’re standing normally, not stretched up or hunched. Write it down — you’ll need it twice, once for picking a base stand and again when you cut your surround panels.
When shopping for the base stand itself, look for a few things:
- A sturdy build that won’t tip when a big dog leans into it
- Metal construction over plastic — plastic stands flex and slide over time
- Adjustable height, even if you think you’ve nailed the measurement
That last point is worth the extra few dollars. Dogs grow, get older, or you end up building this for a foster who’s a different size than your permanent pup. An adjustable stand saves you from redoing the whole project later.
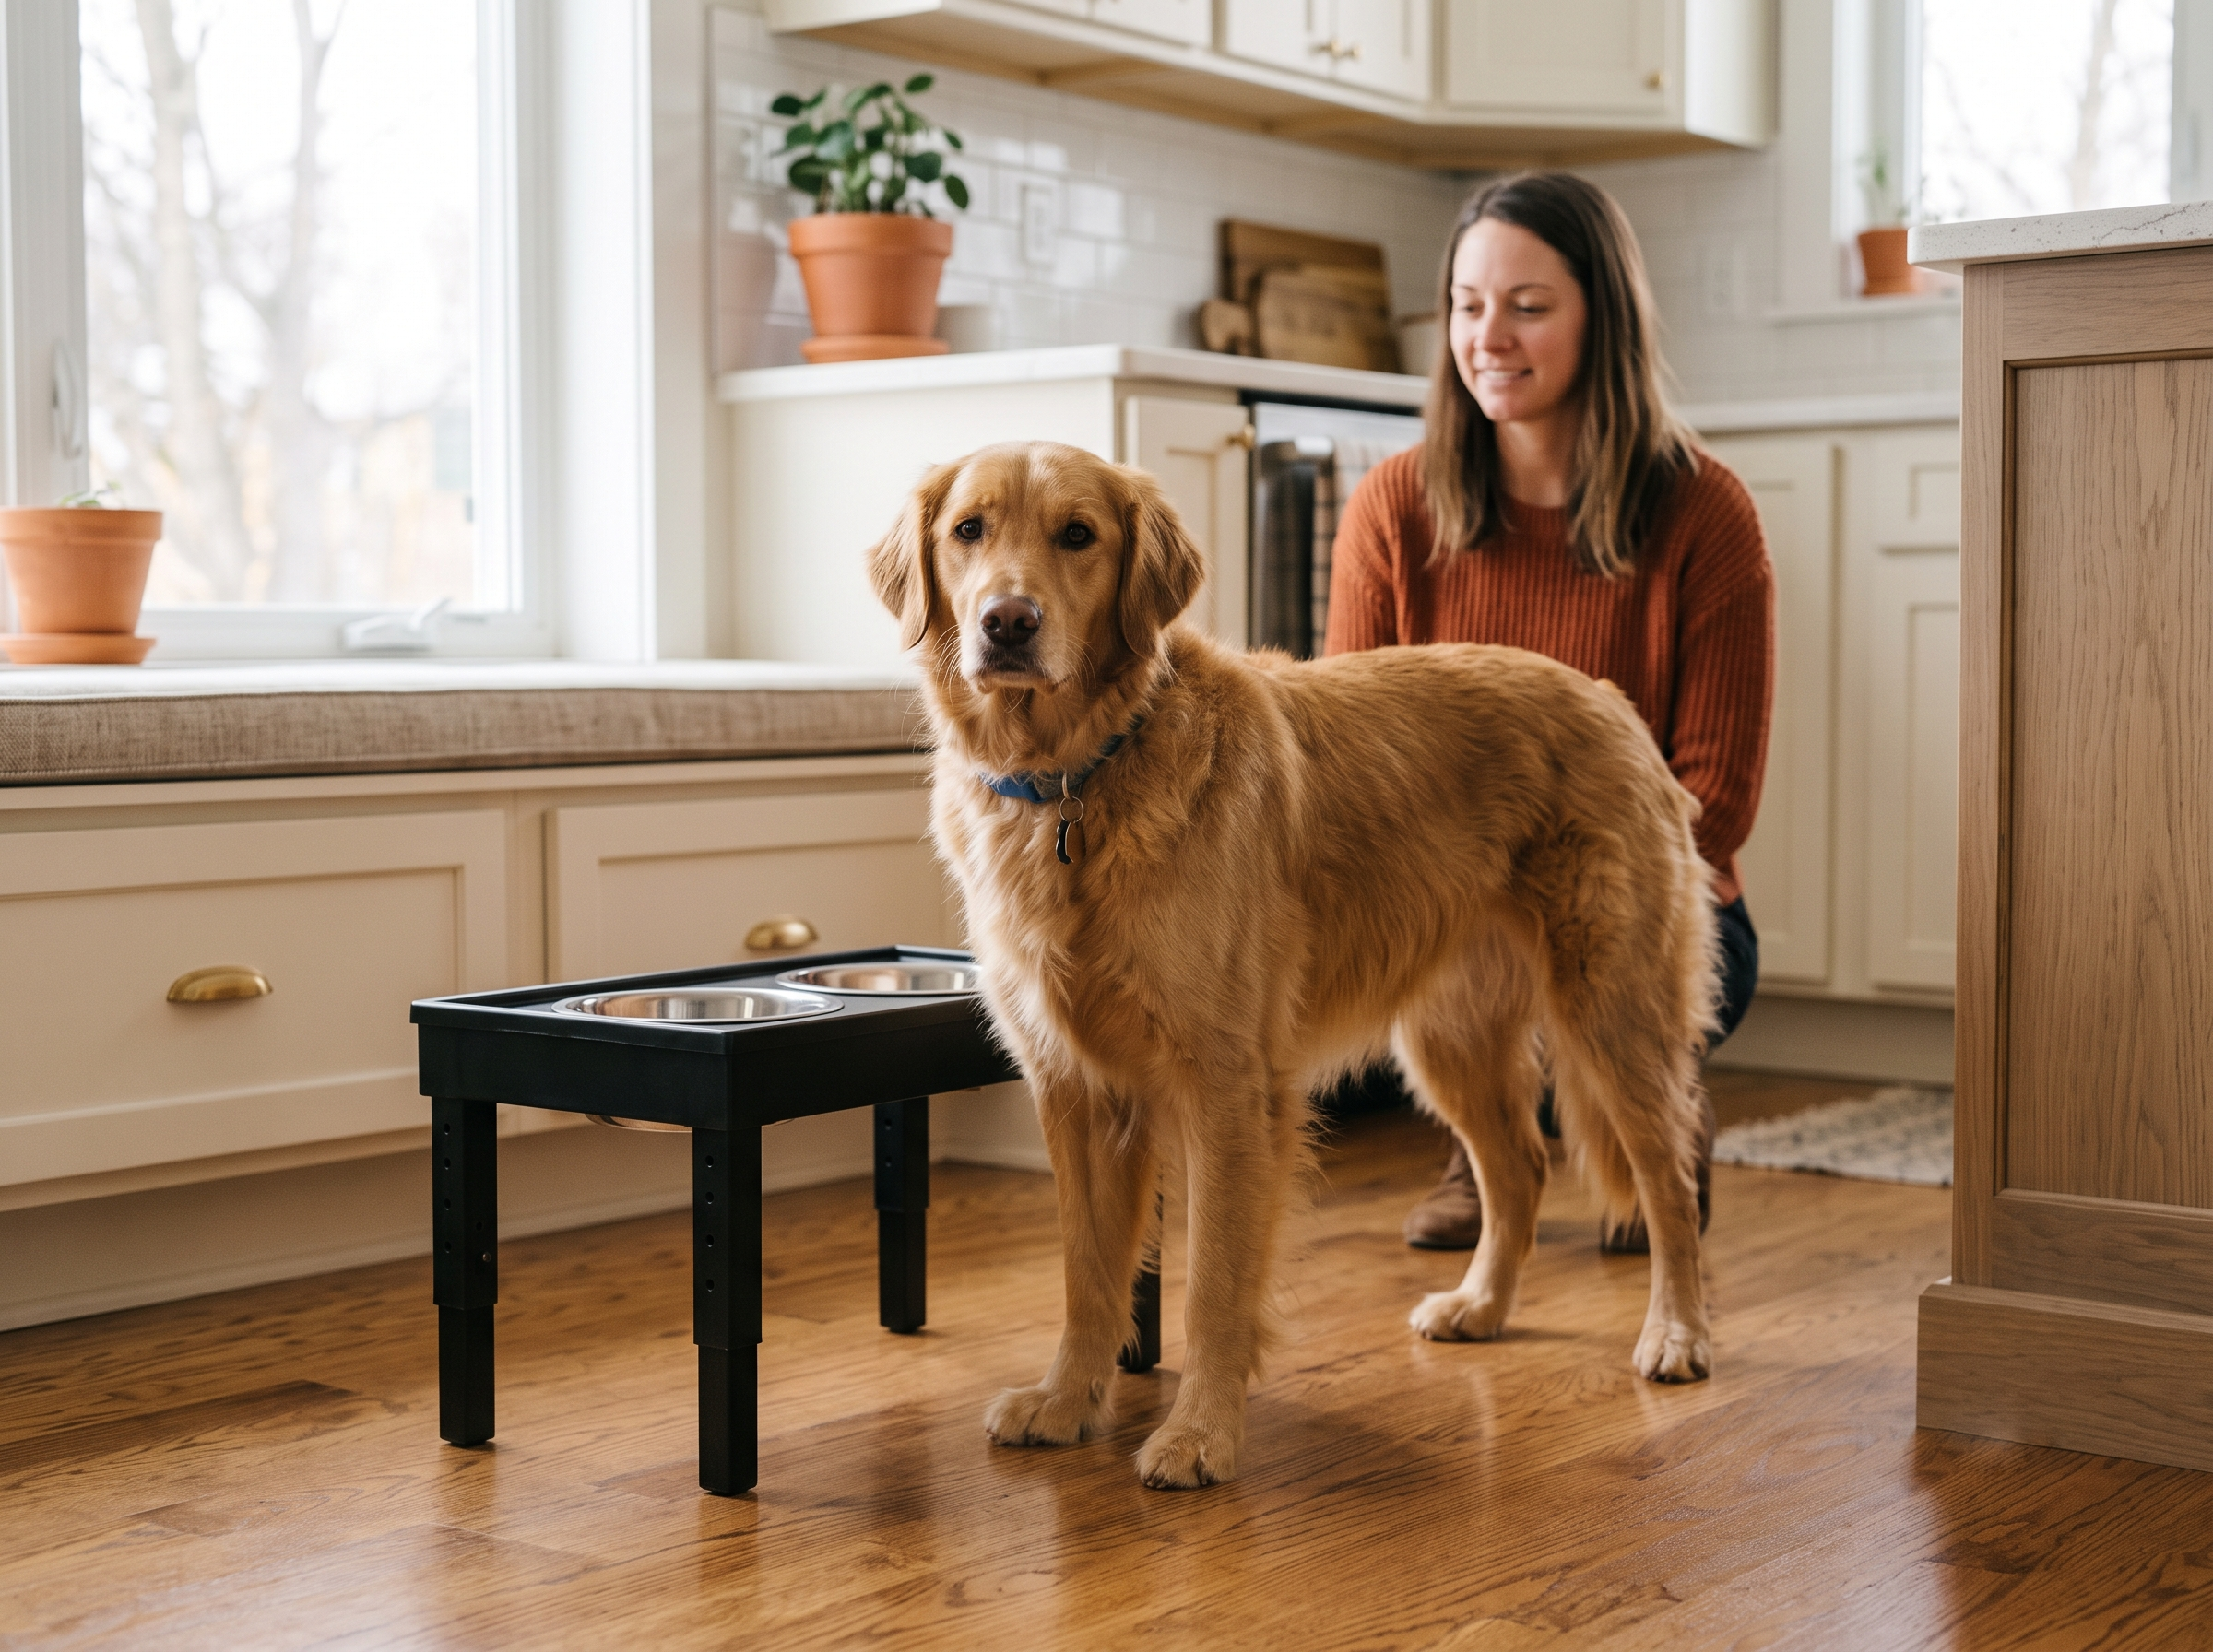
This is where the Elevated Dog Bowls 4-Height Adjustable Stand (DB-W01) earns its spot. It adjusts across four heights, comes with two thick 50oz stainless steel bowls, and gives you the flexibility to dial in that elbow-height measurement exactly instead of guessing.
One thing to watch for: this stand’s official sizing chart (like most on the market) lists its four heights against shoulder height, not elbow height — since elbow height is the number we’re actually working with here, don’t try to match your elbow measurement directly to the chart. As a rough rule of thumb, elbow height typically runs about a quarter to a third shorter than shoulder height on a medium dog. So if the chart suggests a height based on your dog’s shoulder, size down a notch from that recommendation, or better yet, set the stand up empty and adjust by eye until your dog’s elbow lines up with the bowl rim.
What You’ll Need
Once you’ve got your base stand picked out, here’s the full materials list:
- Adjustable elevated base stand (above)
- Surround timber — pine or poplar boards, whatever your local hardware store has on hand
- Edge trim, wood screws, wood glue
- Sandpaper, 120 and 220 grit
- A pet-safe wood sealant
- Non-slip pads for the base
The lumber, screws, glue, and sandpaper are commodity items — grab whatever’s on the shelf at your local hardware store. No need to hunt down anything specific there.
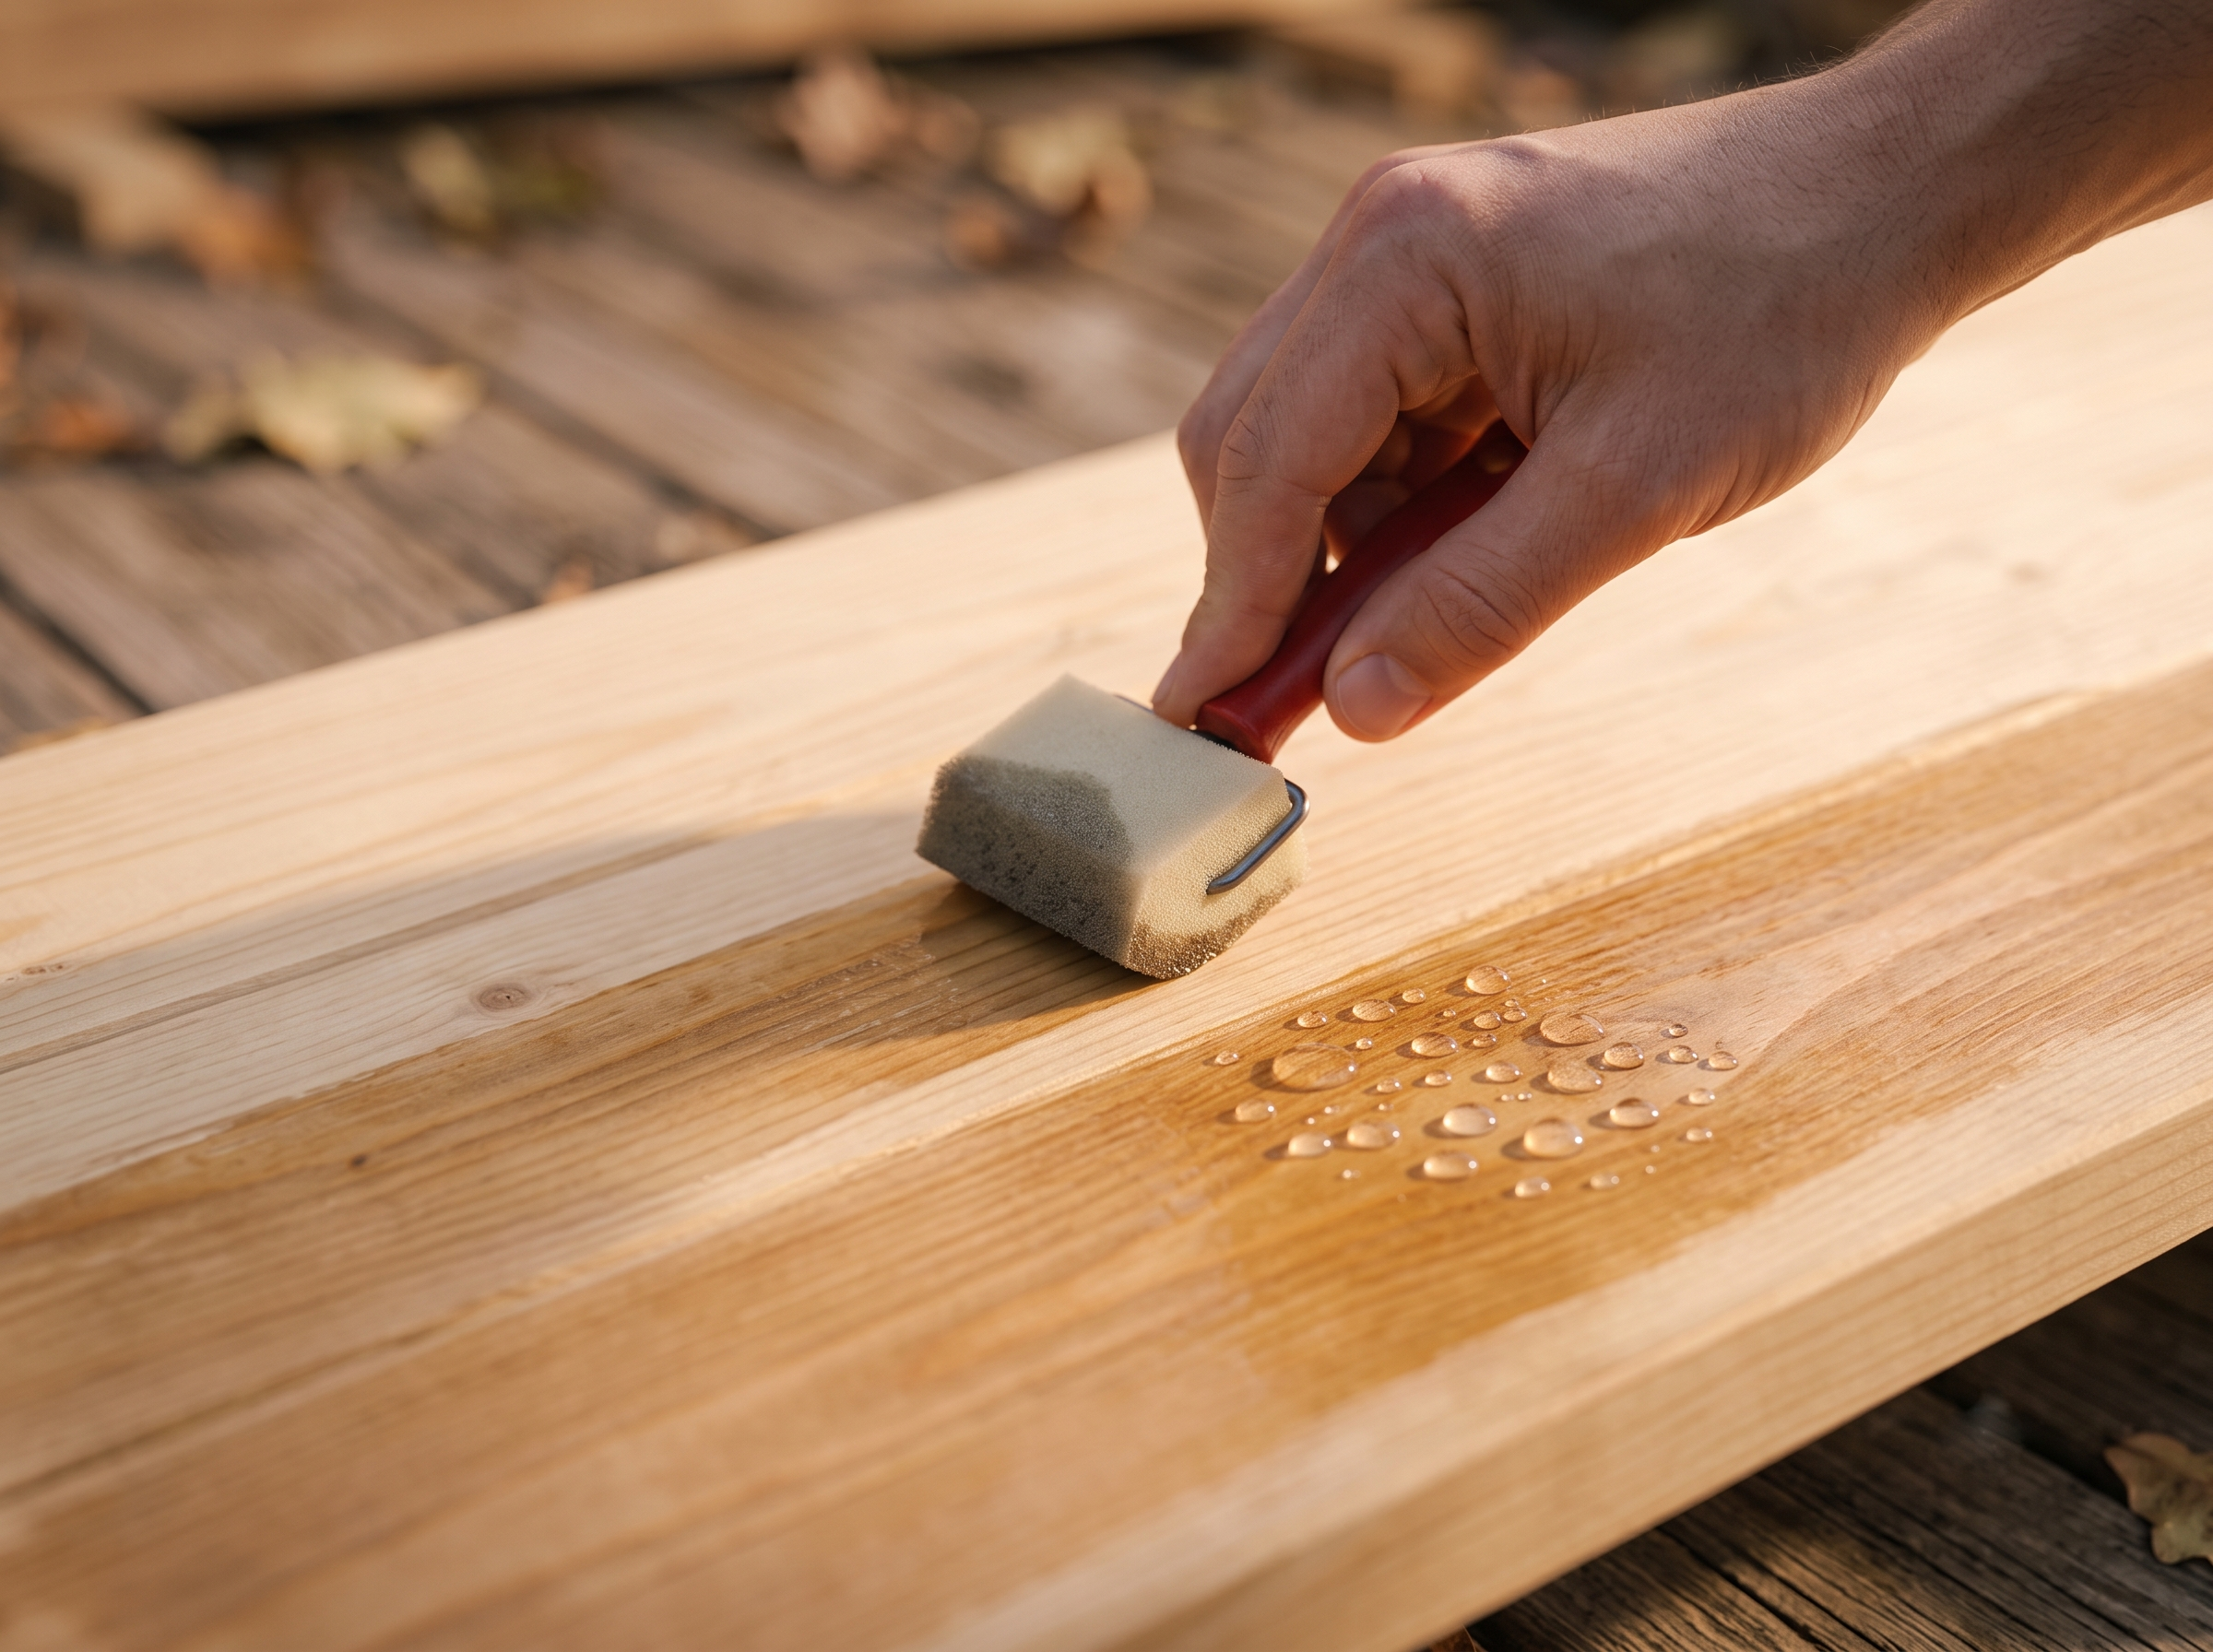
The finish is a different story. A lot of wood sealants aren’t food-safe once cured, which matters here since this surround sits inches from your dog’s bowls. The Garden Box Sealer is plant-based and FDA food contact safe, so it’s a solid choice for anything near where your dog eats and drinks.
Step-by-Step Build
Step 1: Measure the Base Stand and Bowl Cutouts
Set your adjustable stand to your target elbow height and measure its footprint carefully — width, depth, and how the bowls sit in it. These numbers determine every cut you make next.
Step 2: Cut Your Surround Panels
You’ll need a front panel and two side panels. Leave the back open — this isn’t just about saving wood, it gives you airflow and easy access for pulling the stand out to clean underneath.
Step 3: Assemble the Frame
Join the panels using pocket holes or simple interior corner cleats. Either method gives you clean exterior corners with no visible hardware on the outside faces.
Step 4: Sand and Finish
Sand through 120 then 220 grit for a smooth surface, then apply your pet-safe sealant in thin, even coats. Let it cure fully before moving to the next step — check the product label for cure time, since it varies by climate and humidity.
Step 5: Insert the Stand and Secure It
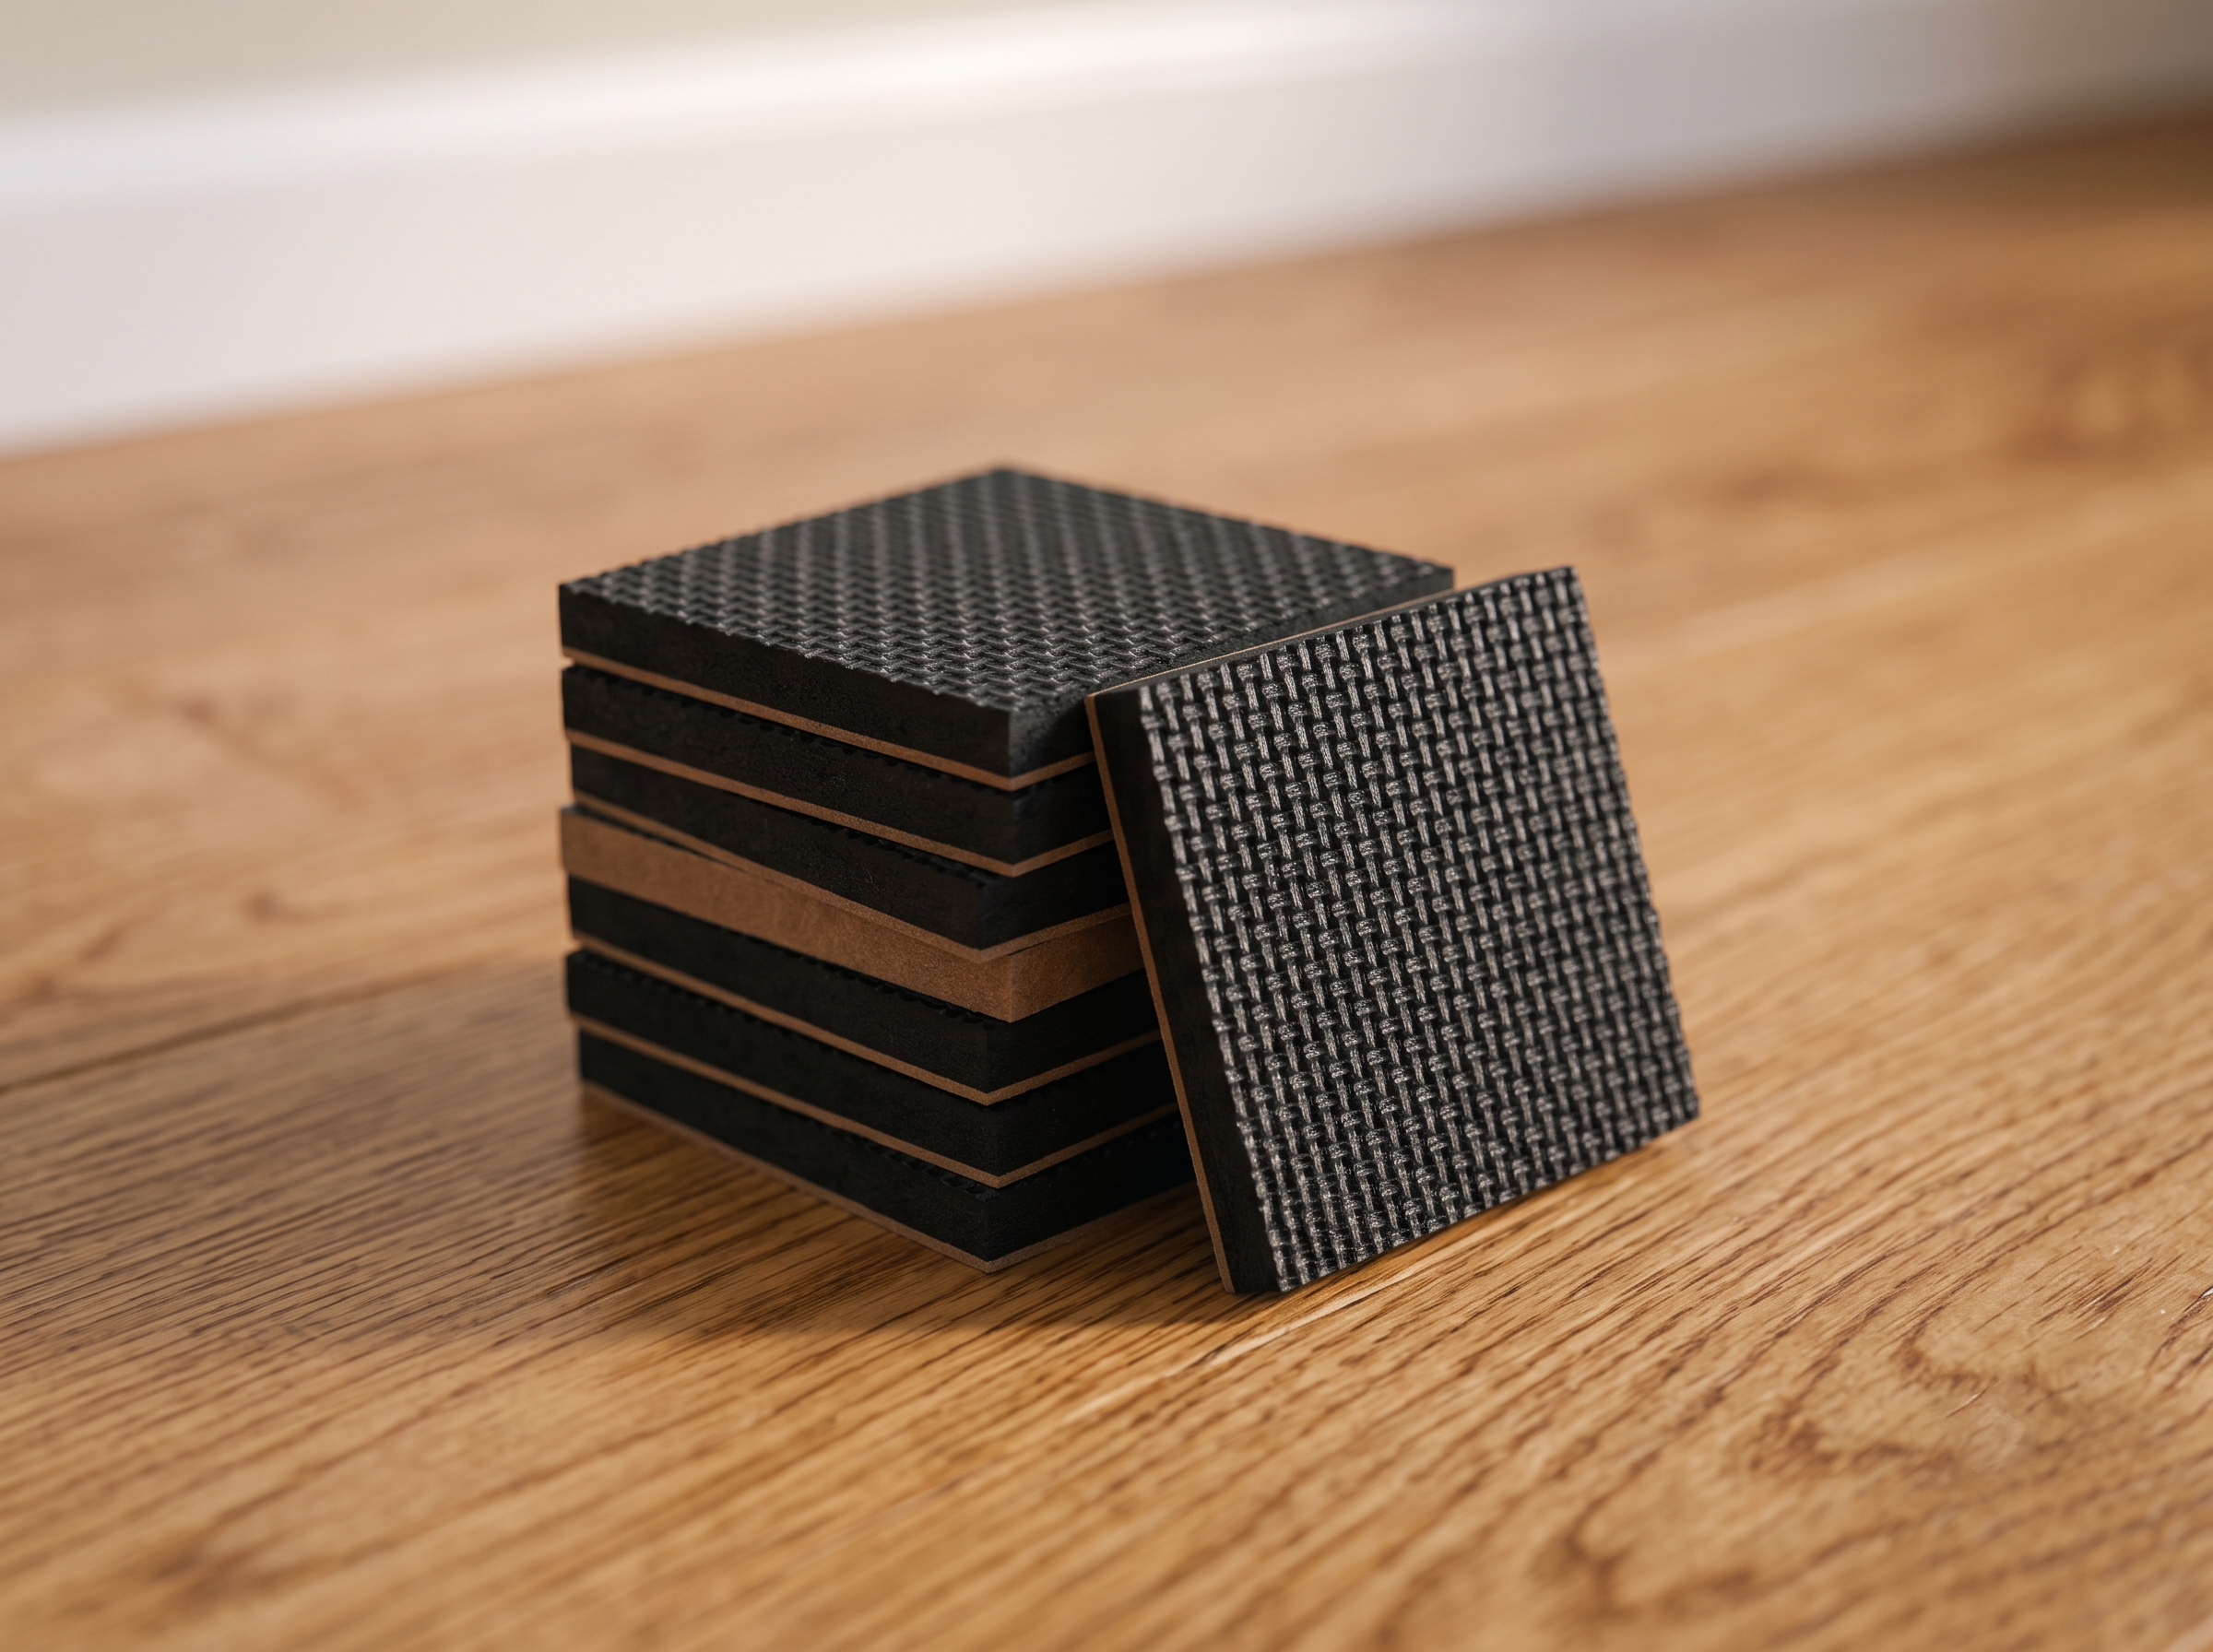
Slide the base stand into the finished surround and add non-slip pads underneath to stop the whole unit from sliding on hardwood or tile. The X-PROTECTOR Non-Slip Furniture Pads work well here — a 16-pack gives you more than enough for this project with plenty left over for other furniture.
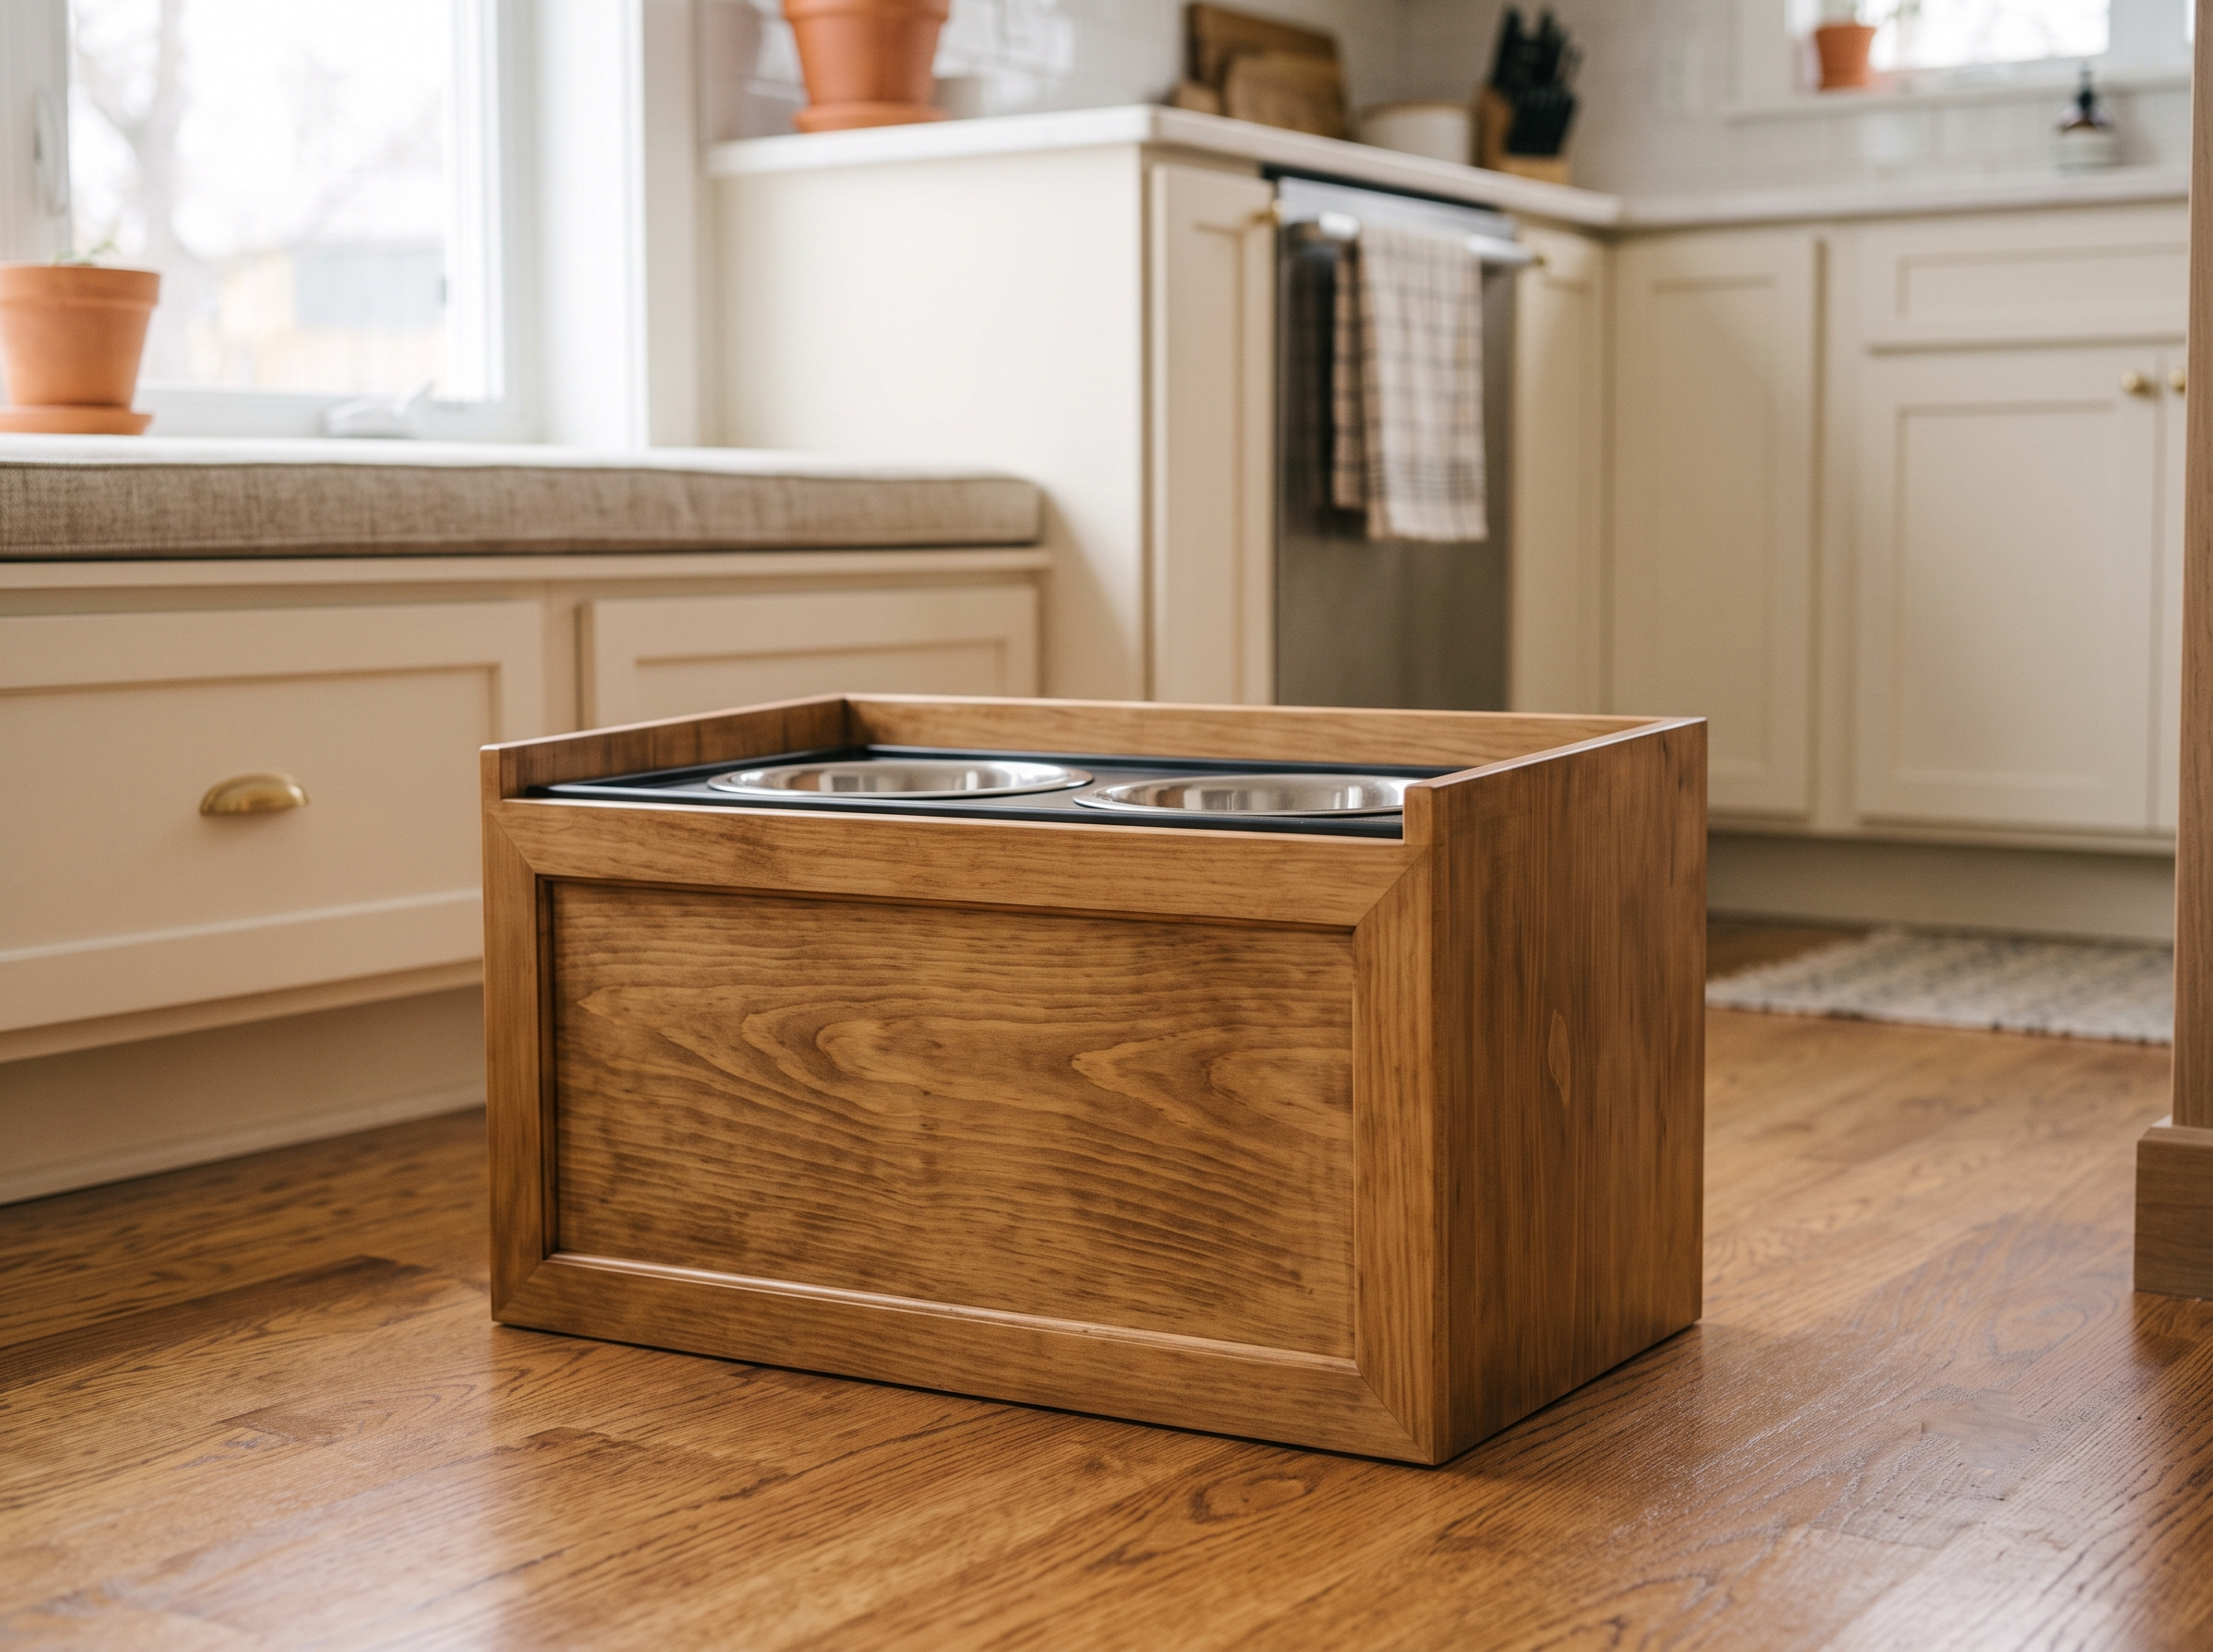
The mistake almost everyone makes: cutting the surround too tall. If the top edge sits too far above the bowl rim, you end up needing to reach down into a well just to lift the bowls out for washing. Leave a ½ to 1 inch lip above the bowl rim — enough to look intentional, not so much that you’re fishing bowls out of a hole.
Safety, Comfort, and Splashes
Even with a well-built surround, water bowls splash. A shallow lip around the top perimeter helps catch drips before they hit the floor, and a wipeable top coat makes daily cleanup a non-issue.
If you’ve got a dog who’s a genuinely messy drinker — the kind who submerges half their face and walks away dripping — you might skip the DIY surround for the water side entirely and go with something purpose-built. The Neater Feeder Express (Medium/Large size) is designed specifically for splash containment, with a built-in catch basin that handles heavy drinkers far better than an open surround ever will.
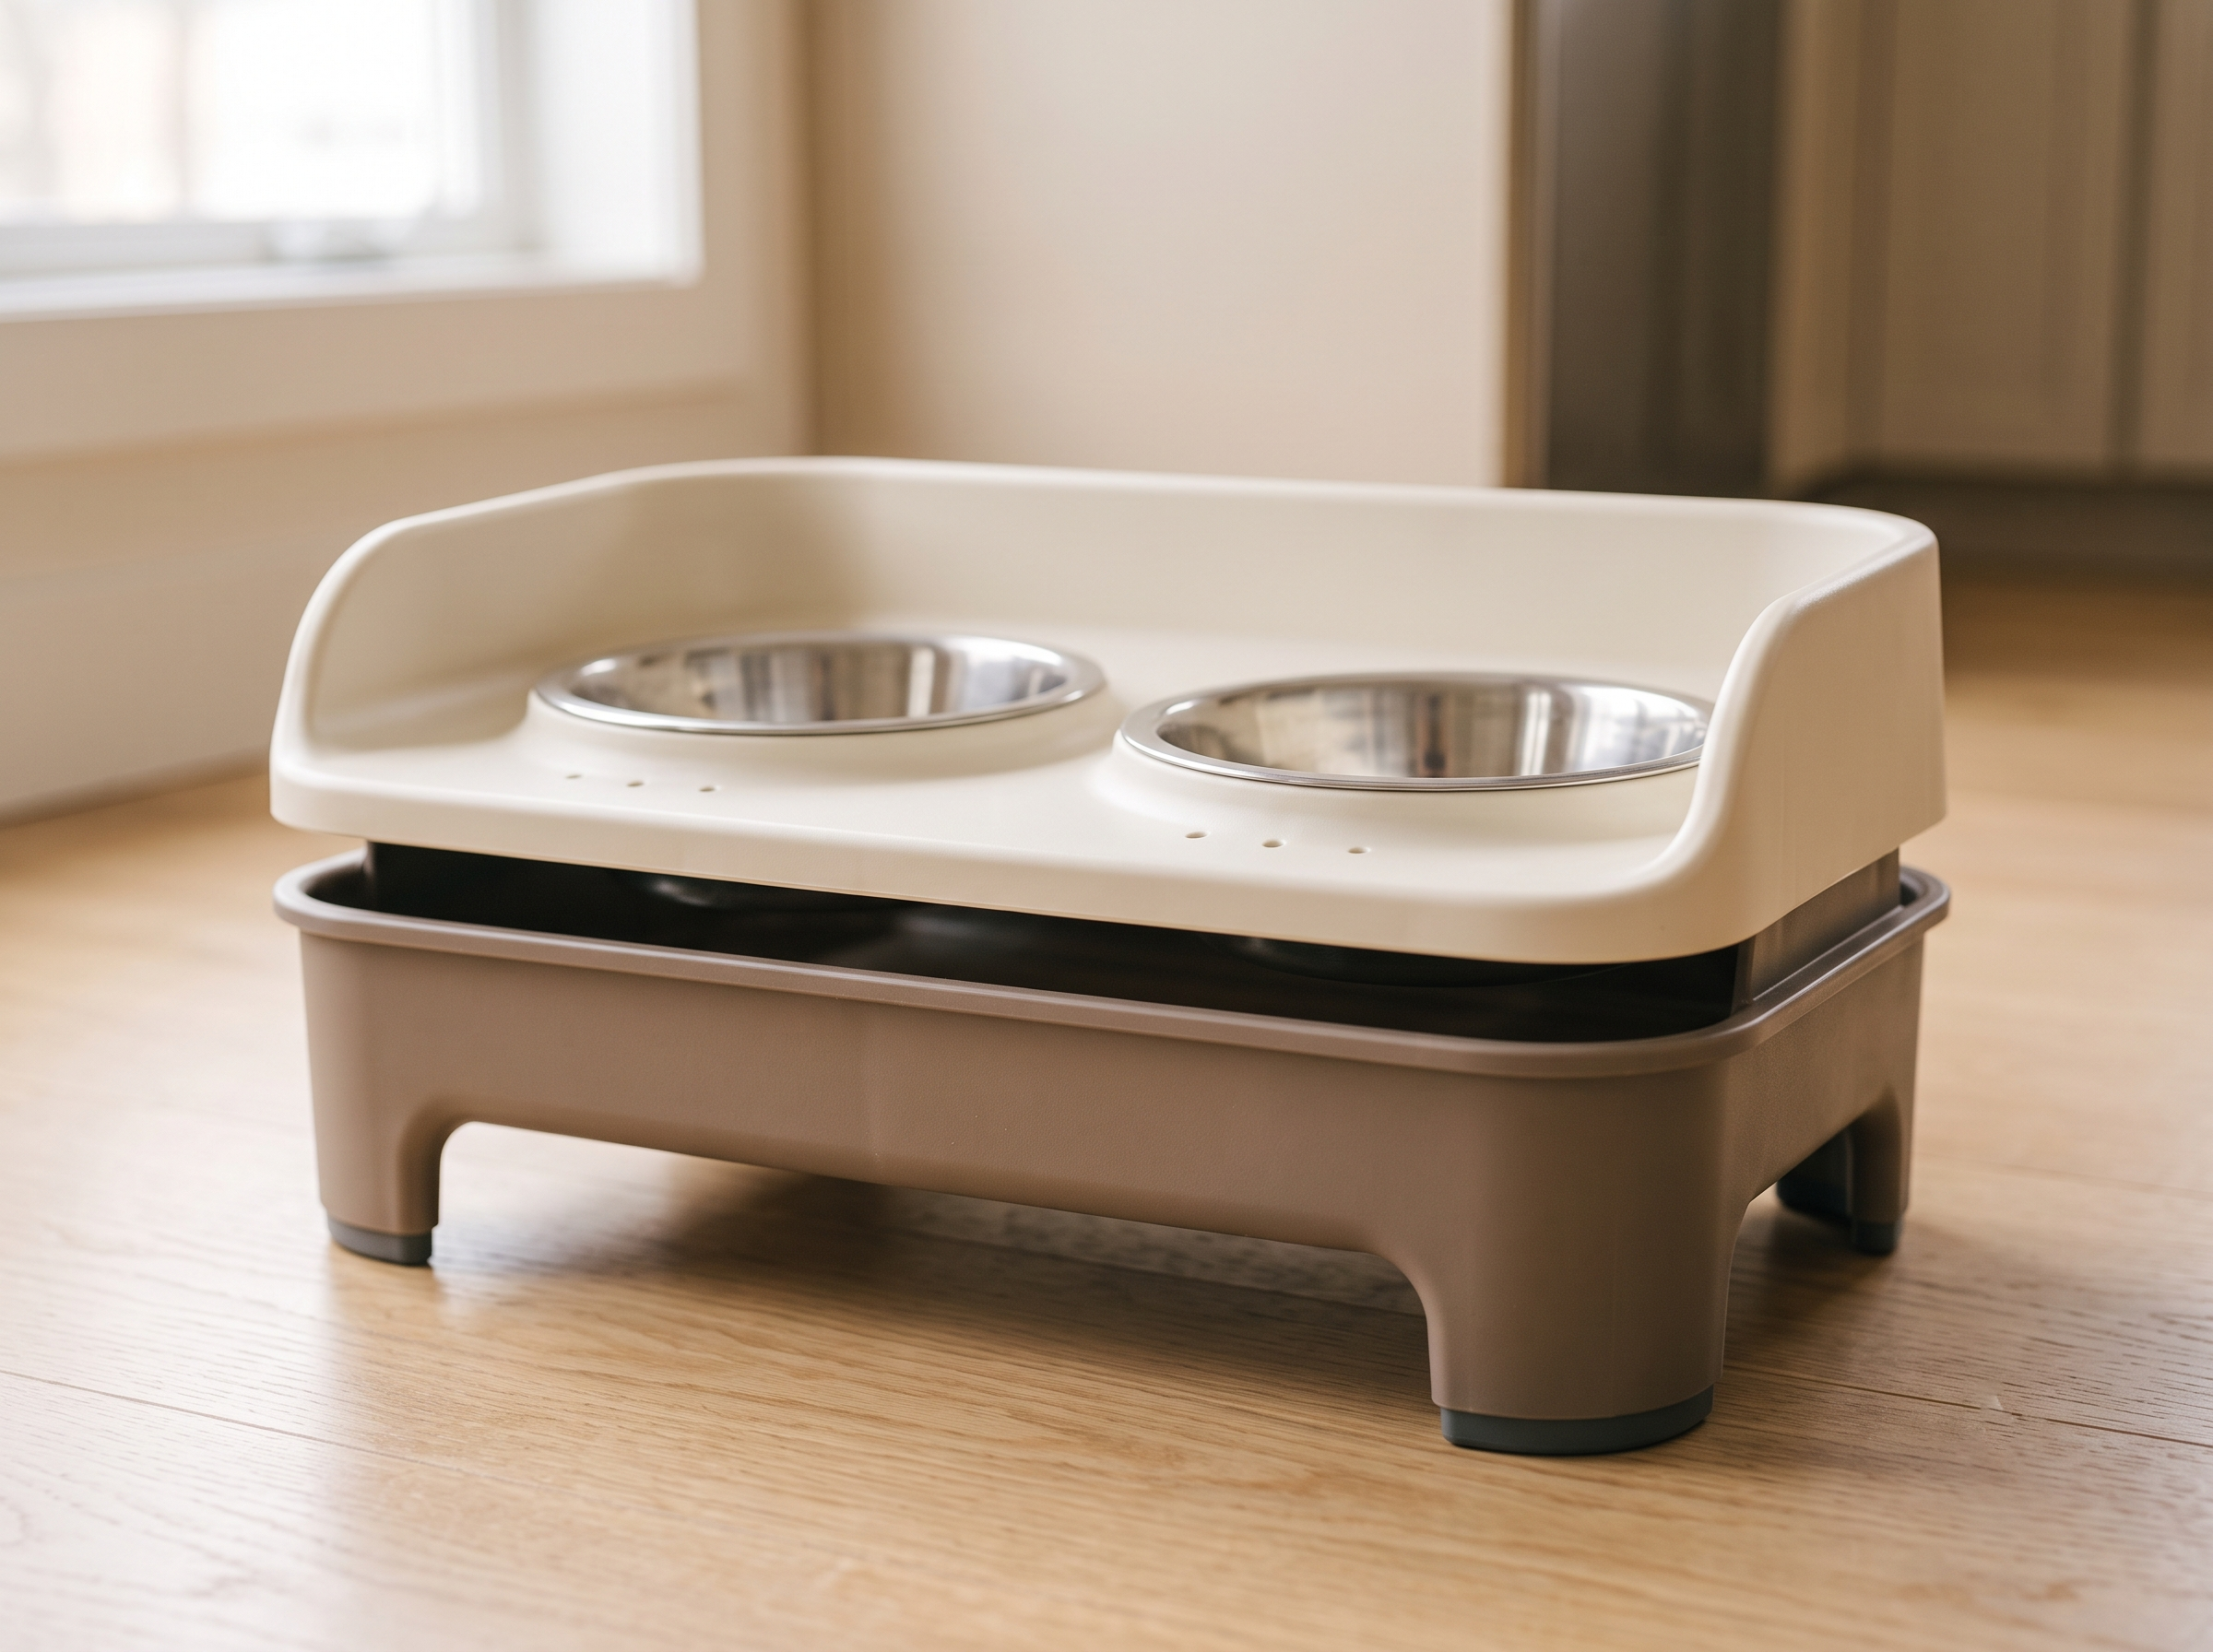
For safety, sand any sharp corners on the surround smooth, and double check the stand feels stable with your dog’s full weight leaning on it before letting them dig in unsupervised. Removable bowls make washing simple, and that wipeable sealed top coat means spills are a thirty-second cleanup instead of a project.
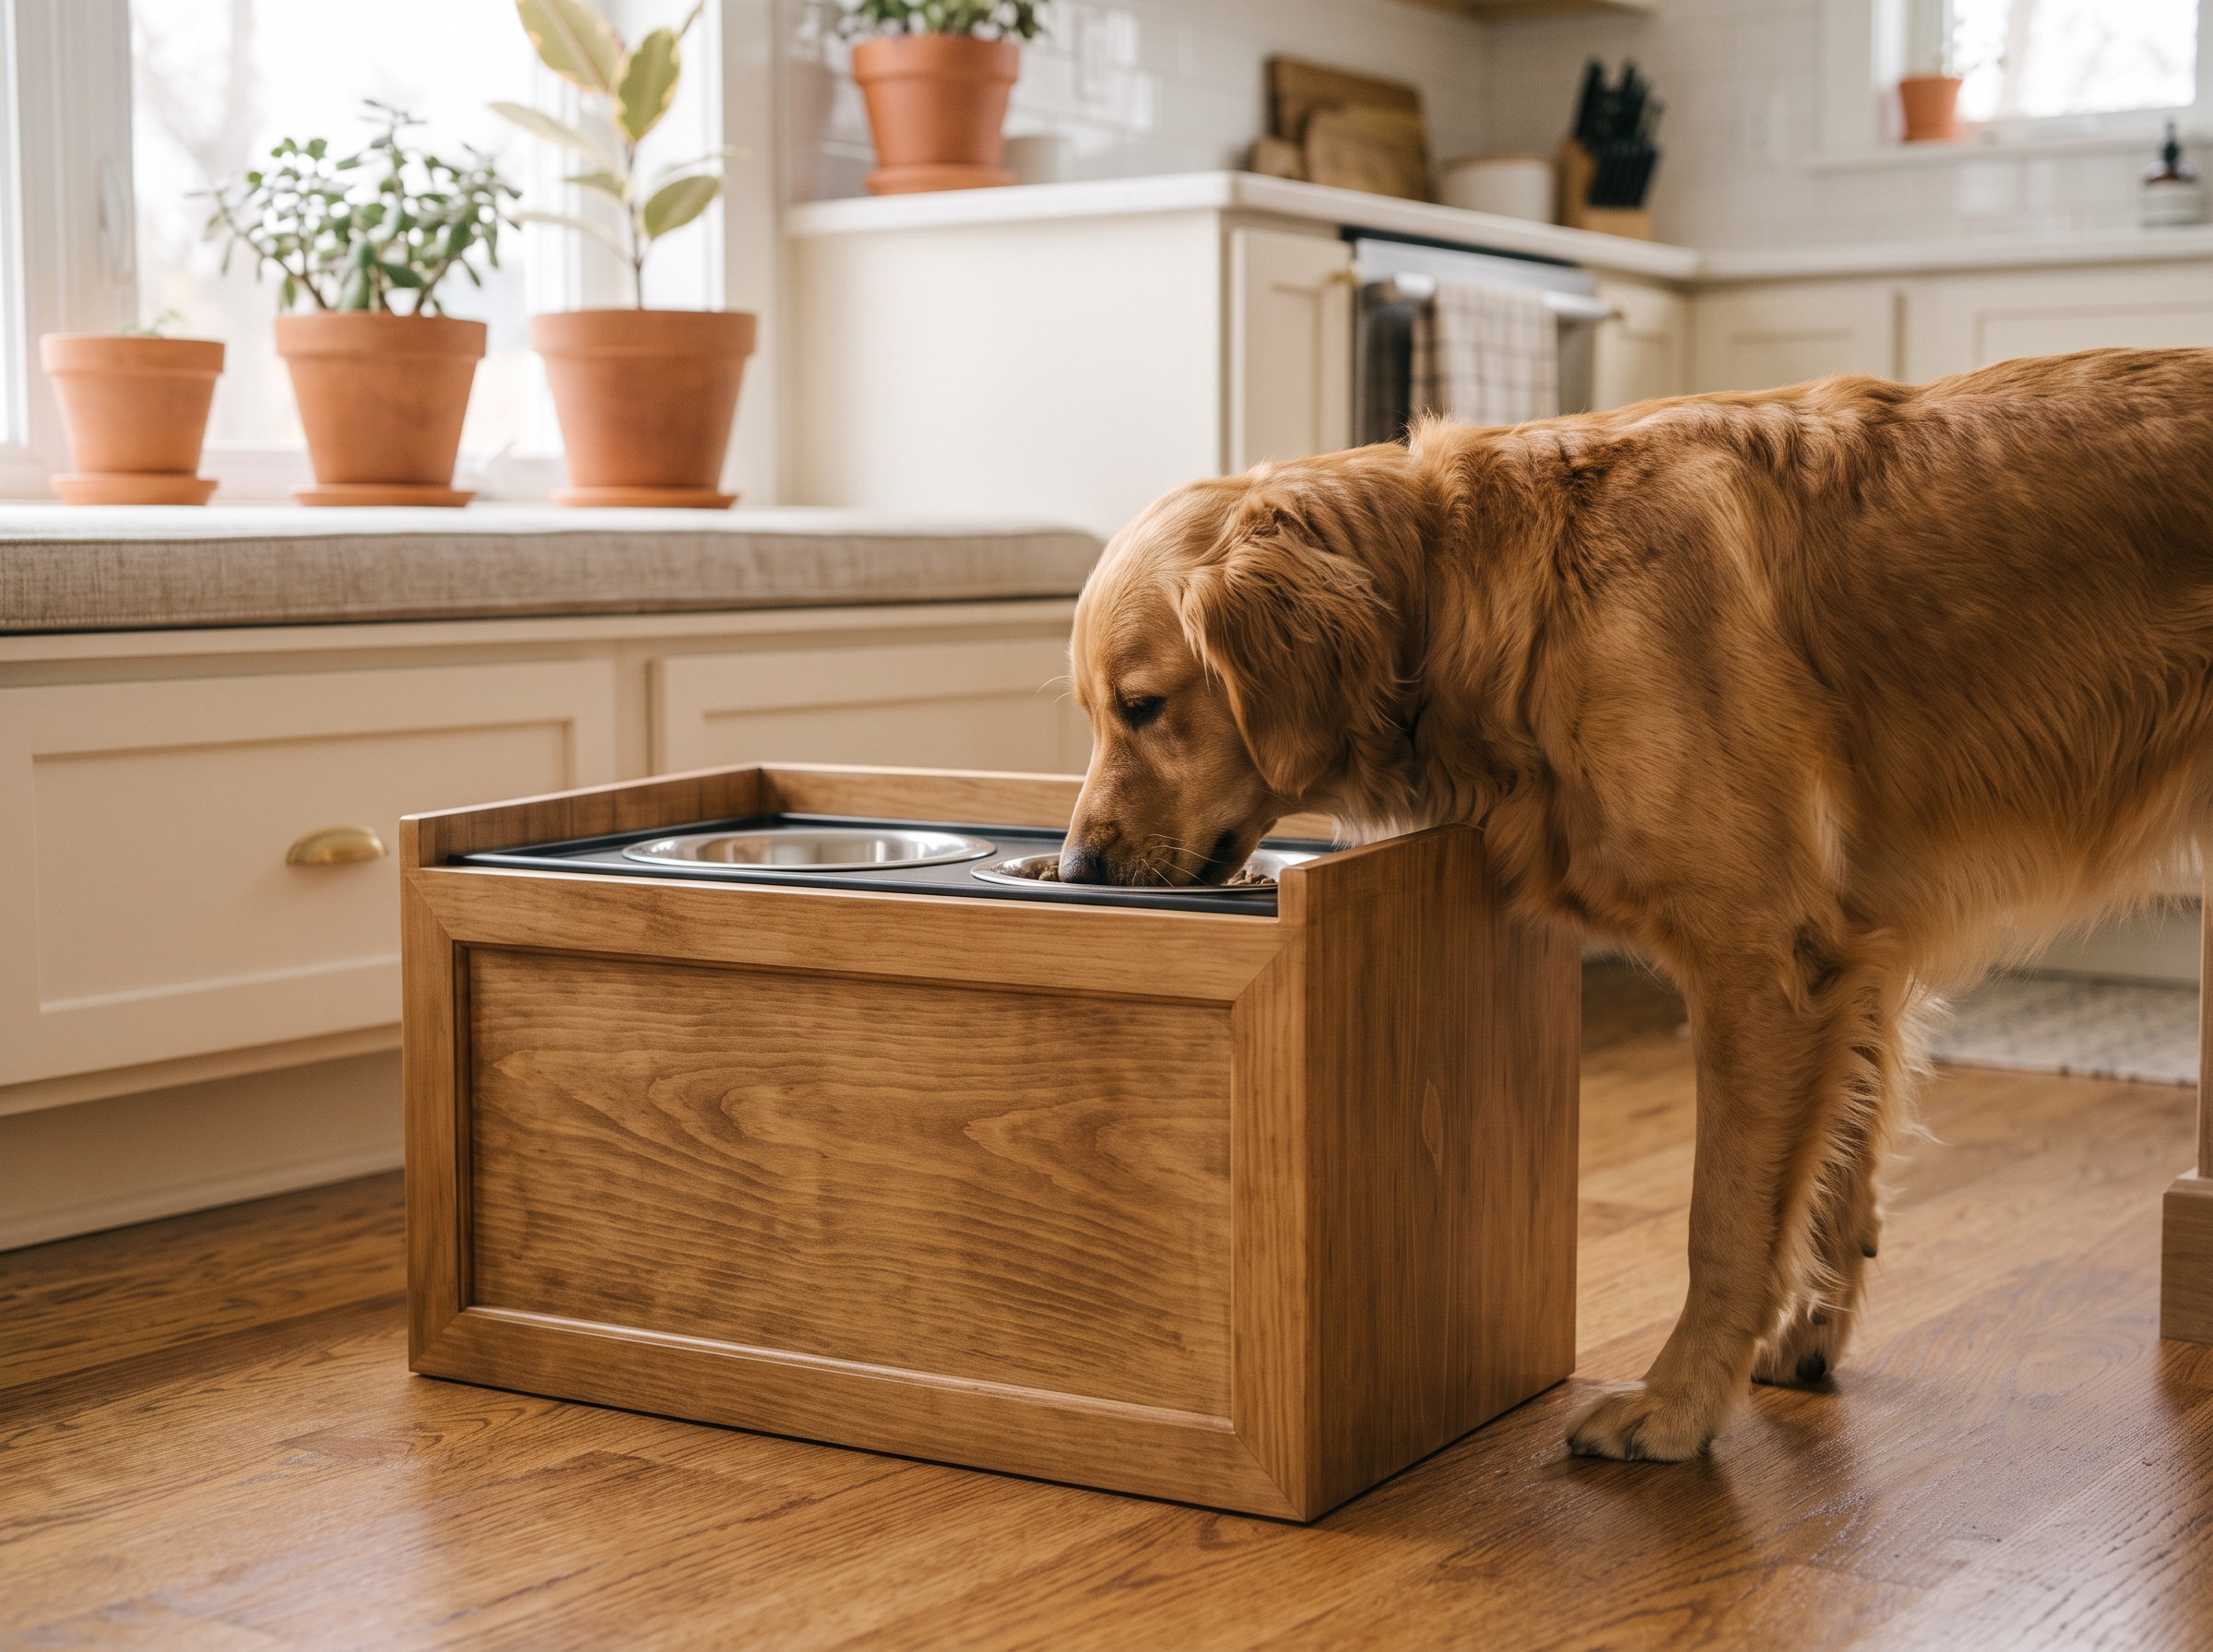
Wrap-Up
An elevated dog feeding station doesn’t have to look like it came out of a big-box pet store. With an adjustable stand, a simple wood surround, and a food-safe finish, you get something that looks like real cabinetry and actually solves the mess problem for good.
If you liked turning pet gear into real furniture, you’ll probably enjoy our guide on how to build a hidden litter box cabinet that doesn’t smell — same idea, different room.